ROBOTICS7T2ETA
1/33
There's no tags or description
Looks like no tags are added yet.
Name | Mastery | Learn | Test | Matching | Spaced | Call with Kai |
|---|
No study sessions yet.
34 Terms
DIY ROBOT KIT
Robot designed for building skills and more, for students. Built on the main PCB for simplicity, with open source components and user’s ability to customizd
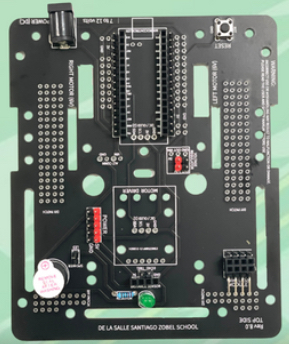
PRINTED CIRCUIT BOARD
Holds the robot together
PCB BASE
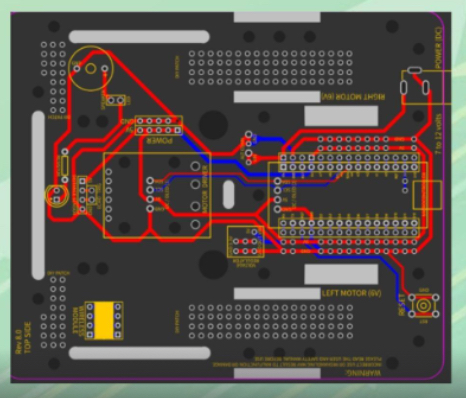
Used as the base to hold components together. Has copper traces to form network connections to power the robot. Has 2 layers of wiring.
RED, BLUE
A PCB base as 2 layers of wiring: red and blue. The top wirings are the color __, while the bottom wirings are __.

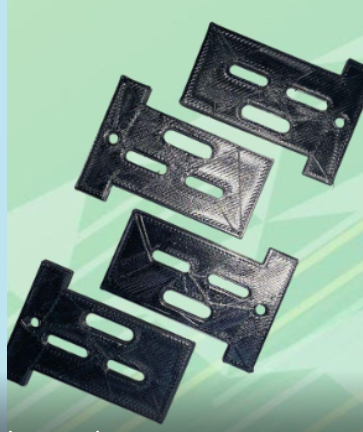
MOTOR MOUNT
Installed in all vehicles to stabilize the engine & protect other components from the internal combustion process
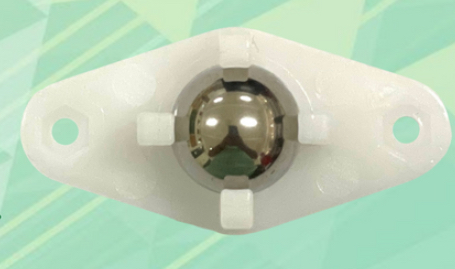
CASTER WHEELS
An assembly that includes a wheel and a mount. Used to support the robot and make it easy to maneuver.
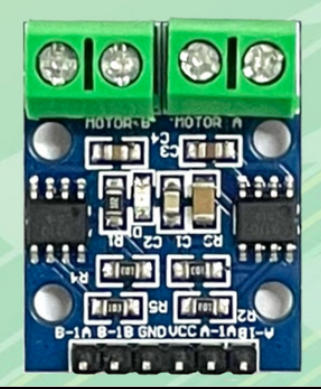
MOTOR DRIVER
Converts the low current signal to high current signal, which helps drive the motor.
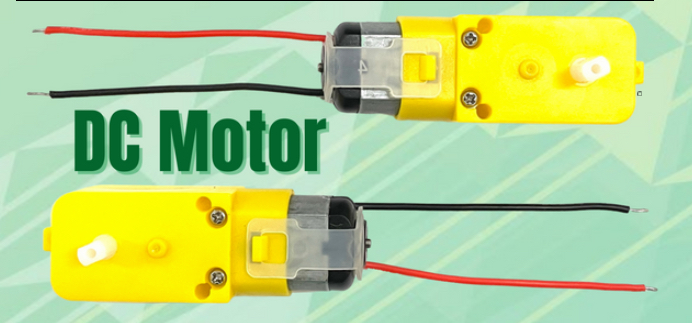
DC MOTOR
Converts direct electrical current into mechanical rotational energy through electromagnetic forces.
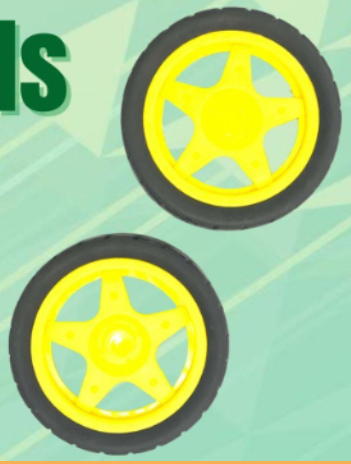
MOTOR WHEELS
An electric motor that moves the robot.
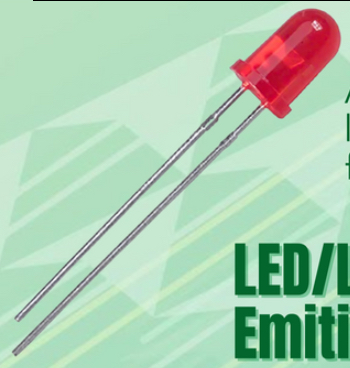
LIGHT EMITTING DIODE
A device that emits light when current flows through it
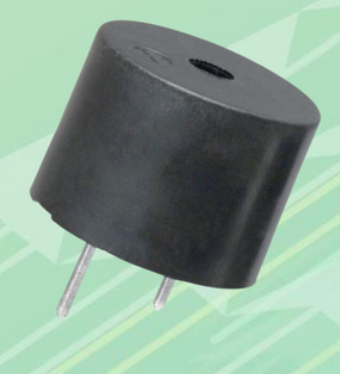
PIEZO BUZZER
An audio signaling device that produces sound when current flows through it.

MICROCONTROLLER
An integrated circuit that serves as the brain of the Pepito. Includes a processor, memory and input/output peripherals on a single chip.
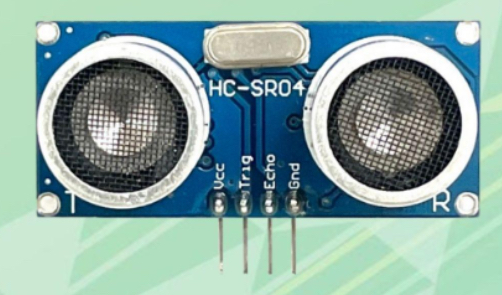
ULTRASONIC DISRANCE SENSOR
Measures disrance by using ultrasonic waves. The sensor head emits an ultrasonic wave and receives the wave reflected back from the target.
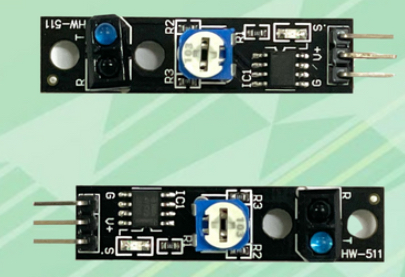
INFRARED SENSOR
A sensor placed under the Pepito to trace the line.
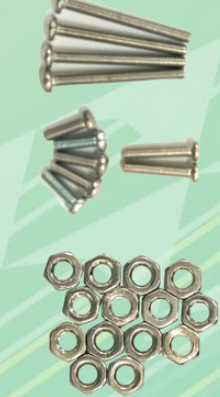
BOLTS AND NUTS
Used to firmly hold and fasten the parts of Pepito.
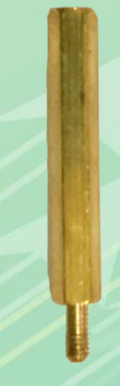
HEXAGONAL STANDOFF
Used to hold parts on a much larger distance.
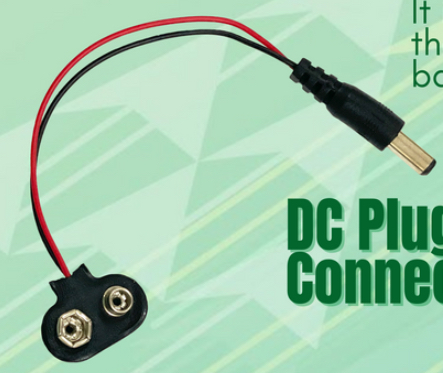
DC PLUG BATTERY CONNECTOR
Used to transfer the power from the battery to the circuit.
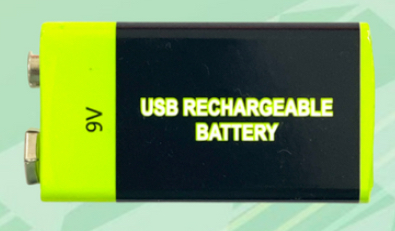
9V RECHARGEABLE BATTERY
The power source of Pepito.
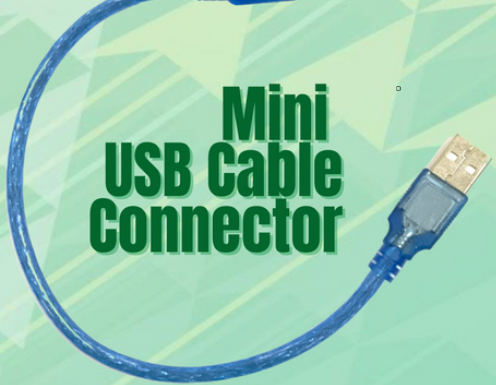
MINI USB CABLE CONNECTOR
Used to upload the program from your computer to the Pepito.
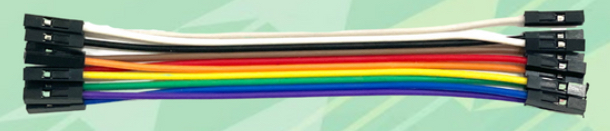
CONNECTING WIRES
Used to connect the parts of Pepito to the microcontroller.
GEAR MOTOR, MOTOR DRIVER, CASTER WHEEL, WHEELS, MICROCONTROLLER, HEXAGONAL STANDOFF
Building steps in order.
ARDUINO IDE
Connects to Arduino hardware to upload programs and communicate with them.
SKETCHES
Programs written using Arduino IDE, saved with file .ino.
FASTER AND MORE POWERFUL
There are 2 versions of Arduino IDE. One is the Legacy Version (1.x.x), another is IDE 2.x which is ___.
TOOLBAR WITH BUTTONS
A series of buttons or a menu in Arduino IDE V.2.
VERIFY BUTTON
Found in the Arduino toolbar; checks your code for errors while compiling it. Check icon.
UPLOAD BUTTON
Found in the Arduino toolbar. Compiles and uploads code to configured board. Arrow icon.
OPEN BUTTON
Menu of all the sketches in the sketchbook found in the toolbar. Arrow up button.
SAVE BUTTON
found in Arduino toolbar. Saves the sketch. Arrow down icon.
NEW
Found in Arduino toolbar, Creates a new sketch. Piece of paper icon.
SIDEBAR
Gives quick access to regularly used tools like board managers and libraries.
TEXT EDITOR
Where you write the code in Arduino IDE.
MESSAGE AREA
Gives feedback while saving & exporting, shows errors, Arduino IDE.
TEXT CONSOLE
Displays text output, including error messages and other info in Arduino IDE.