Premier pro flashcards
1/72
There's no tags or description
Looks like no tags are added yet.
Name | Mastery | Learn | Test | Matching | Spaced |
|---|
No study sessions yet.
73 Terms
How do you select all clips on a timeline
CRTL A
How do you unlink a video from the audio
CRTL L
Clicking ____ unlinks everything, but if you turned it back on the links are still there
linked selection

Use Q when
you’ve placed a cut and then moved the marker forward on the timeline to where you want to make another cut, for a ripple delete of the video in between the two
Use W when
you’ve placed a cut and then moved the marker backwards on the timeline to where you want to make another cut, for a ripple delete of the video in between the two
A sequence is like a
pan where you add your raw footage
CRTL DEL on a clip
ripple delete
If there’s a gap in between two clips you can double click
and click ripple delete to bring the clips together
A way to speed a video up is holding down on the ripple edit tool (B), and selecting
rate stretch tool, then shorten the clip, which speeds it up
FN down arrow or up arrow
brings you to the start and end of each clip
To set in and out points use
I and O
To clear in and out points,
right click on the top of the timeline and click clear in and out points
If you have gaps in between you clips, use
while highlighting, CRLT ALT G
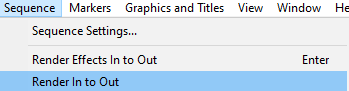
If you click render in and out points,
it will render the whole timeline even if you don’t have in and out points
Right clicking the sequence name top left of the timeline,
You can click reveal sequence in project
Shift I
Goes to start of project
Shift O
Goes to end of project
You can cut a video before dragging it in by
Setting in and out points on the source panel
crtl shift z
redo
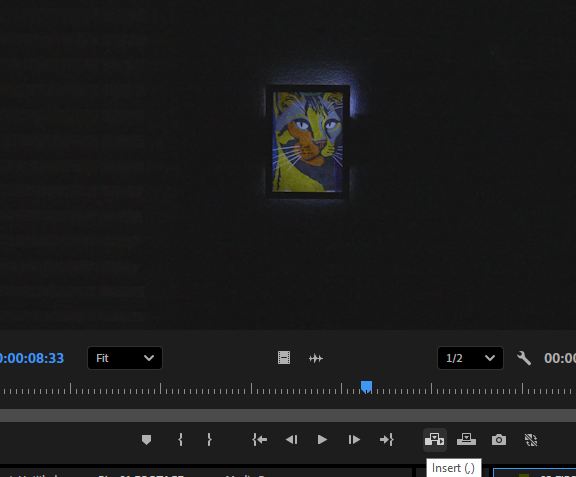
You can insert a video in a timeline by
clicking the insert button or (,)
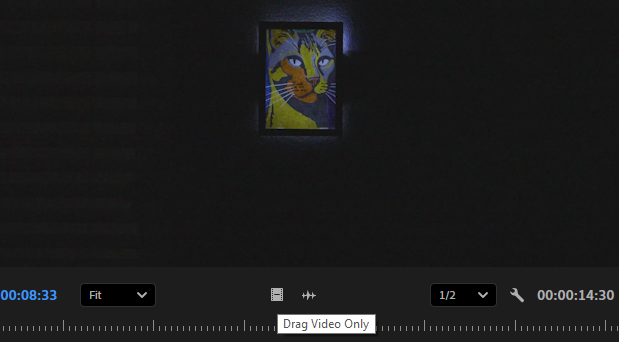
To drag in a clip without any audio hold down
drag video only
If you lock V1 then click insert it will only insert
the audio, because source packing is enabled
If you move the far left V1 up one and click insert while locked
the inserted clip goes onto the second layer
If you move the far left V1 up one and click insert while the main timeline unlocked
it will ripple the clip in
If you click over-ride while the far left V1 is up one and unlocked
the clip won’t ripple in and will go over the first clip
If you hold down CRTL, while a clip is above another clip and drag it down,
it will be inserted in the timeline without cutting out the other clip
Shortcut R
rate stretch tool which can be used to slow down a clip by stretching the video out
You can adjust the frame rate on a clip by
right clicking the clip, modify, interpret the footage, assume this frame rate
How can adjusting frame rate be useful
You have a 60fps video, you can lower the fps which slows it down
Cutting audio randomly and dragging the segment to overlap for the audios natural fade-out at then end causes jumbled sound where the cut is, so
Use the remix tool to find optimal cut points (marked by squiggly lines
If you hold ALT, and then drag a layer
it duplicates
To make edits to text, locate
Window → Propeties
To add adjustable lines to your text layer to adjust the opacity
go to the wrench tool on the timeline and turn on show video key frames
You add opacity effects to your text by going to
effect controls → Opacity → Blend mode
If you hold down CRTL you can
place key frames by clicking the key frame line on a clip/layer
You can turn of a clip by clicking
the eye icon in the timeline, if for example you wanted to see how a text layer looks with keyframes
If you wanted to disable certain parts in a layer you
right click on the ones you want to disable and uncheck enable
Increasing the saturation of a clip
makes the colours more intense
If you want to add effects to multiple clips you can
Label the clips that you want the effect to be added to, right click one of the labelled clips, click select labelled group, and CRTL V the already copied effect
To open lumetri colour you should
Window → Lumetri colour
To deselect a clip out of a group of highlighted clips, press
shift and deselect the one you want
How do you make sure an effect is deleted from all clips highlighted
Right click, remove attributes, only select the effect you want removed
How do you full screen a panel
FN ~ (tilde key)
To make a sequence when dealing with different FPS videos and resolutions
choose the lowest resolution and fps, so your not stretching those clips if you chose a higher resolution
Shift, CRTL, F
Scale to frame size
To sync up a group of audio clips,
highlight them all, right click, synchronize, click audio
Multi-camera source sequence
special sequence that holds multiple synchronized clips from different camera angles of the same event
Enumerate cameras
Select this option to automatically number the camera angles in the sequence name. This can be helpful for identification and organization.
When you insert the Multi-camera source sequence into the timeline you can
switch between each camera by pressing 1 2 3
The Multi-camera source sequence is
Nested, meaning you can go inside and see the clips
To enter inside the Multi-camera source sequence, you
Hold alt, click the audio, then double click on the audio
A good about Multi-camera source sequences is you can insert cuts,
as you are playing through as long as you have it enabled
Toggle Multi-Camera view, allows you to
Allows you to see all clips, and the camera you already on, side by side
If you turn on toggle multi camera record, while having multi camera view enabled, you can
Click play from where you want to, and toggle through the cameras by pressing 1,2, and 3 which makes cuts in between each camera you switch to
If you want to change any multi camera cuts,
click on the clip and click 1,2 or 3
If you want to change where the cut is for the multi camera edit
you can use the rolling edit tool, by clicking N, and rolling the edit left or right, to change how long it is
If you dont want to be looking at the multi-camera view the whole time you can
select the clips, right click, Multi-camera, flatten
Insert and overwrite sequences as nests or individual clips
To cut through multiple clips and audio at once, make sure
track targetting is enabled for all video and audio clips
To fast forward, pause and rewind use
J K L
Keep clicking J or L to make it skip through faster
To counteract only cutting one clip, because it’s selected, you can use
Crtl, Shift, K
Selection follows playhead
If the playhead is on a clip, it’ll automatically select the clip
You can transcribe text by
Window → Text → Transcribe clips
If you want to transition your audio from each clip you can
add a constant power and set it to like 2 frames
How to close a panel like the audio metre
Right click right at the top and close panel
CRTL - or +
makes all clip sizes bigger or smaller
ALT - or +
Makes audio tracks bigger or smaller
What does comparrison view do
On the right it shows you what clip you have selected, and on the left, it shows what clip your trying to match it to
While using comparisson view, you can colour match two videos by
lumetri colour → Colour wheels and match → Colour match
If you want to apply a lumetri colour effect to all the same camera clips, you can
Copy lumetri colour effect on original clip → right click on one of the clips → Label → Select label group, which highlights all of the same clips → crtl V
If you hold crtl on your keyboard
your keyframes can become more precise
When using the synchronization tool, make sure
audio channel is selected for to actually try to sync
You can make a smooth slow mo by
right click - speed duration - time interpolation - optical flow