Instrument Sharpening
1/27
There's no tags or description
Looks like no tags are added yet.
Name | Mastery | Learn | Test | Matching | Spaced | Call with Kai |
|---|
No analytics yet
Send a link to your students to track their progress
28 Terms
Goals for sharpening
Analyze, detect dull, create sharp edge, identify when no longer safe or effective
Why sharpen?
-New instruments have precise sharp cutting edges
-hand activated instruments effective only with sharp edges
-sharp edges "bite into calculus, dull instruments are ineffective they slide over and burnishes calculus
Dull edge instrument causes
Dull edge increases the likelihood of losing control more likely to slip
less pressure
More patient comfort and less MSD injury and more vibrations are felt (more scaling accuracy)
Detecting sharp cutting edge
Shine light from above onto the edge - a straight line (no reflection/ twinkle)
Rounded detection
Light reflects back and rounded edge is wider
Tactile evaluation
A sharpening test stick used to evaluate the cutting edge
-dull cutting edge= slides over surface
-a sharp cutting edge = scratches the surface with light pressure
Grasp test stick in
No dominant hand and 70-80 angulation
before sharpening
Check if sharpening is even needed bc do not want to over sharpen causing unnecessary removal of metal
Not recommended sharpening method
Removing metal from the instrument face
Recommended sharpening method
Remove metal from lateral surfaces
White stone
-fine
-synthetic ceramic
-Arkansas natural stone
Used for routine sharpening
Grayish/ brown stone
-medium
-synthetic ceramic
- India natural stone
-used on very dull edges
Sharpening cards
-diamond coated
-stainless steel
- Autoclavable
-130 dollars
Wet
Natural stone
And should be cleaned before
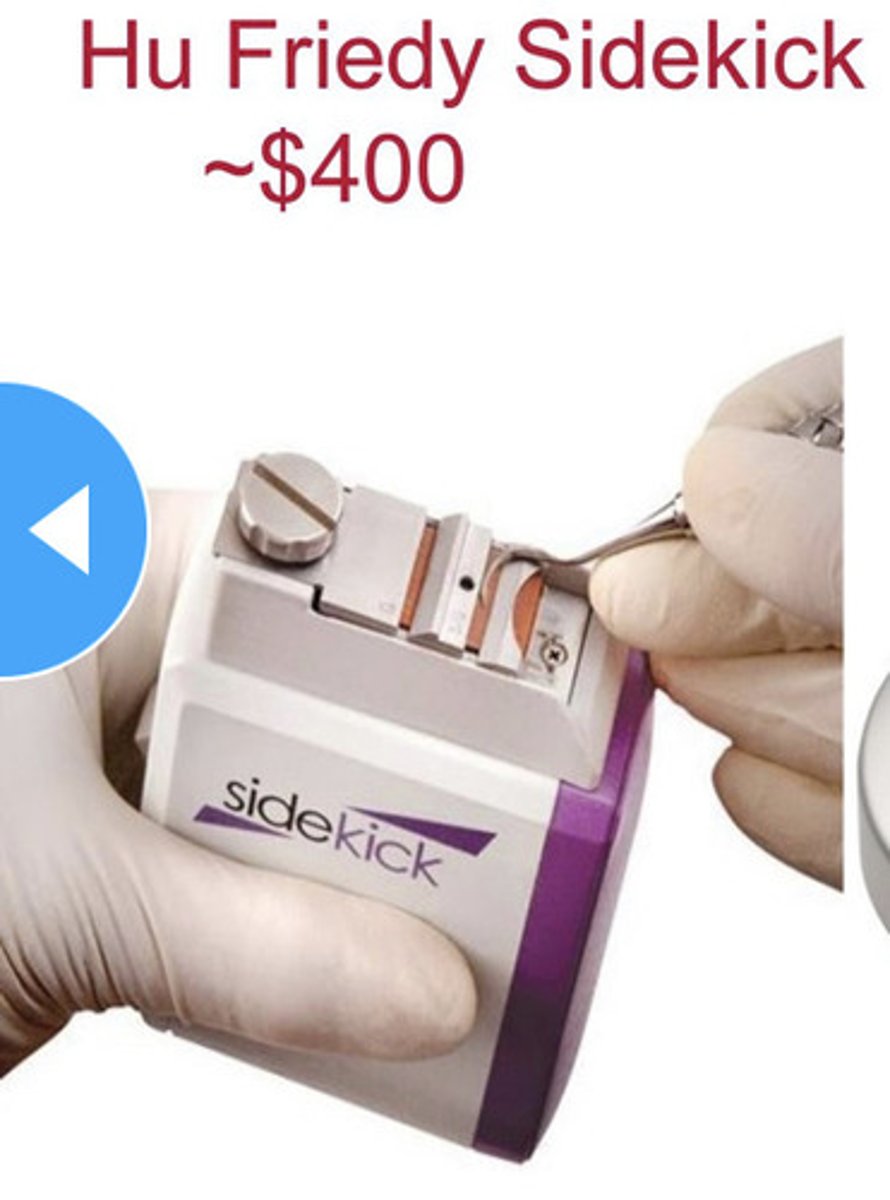
Hu friedy sidekick
400$
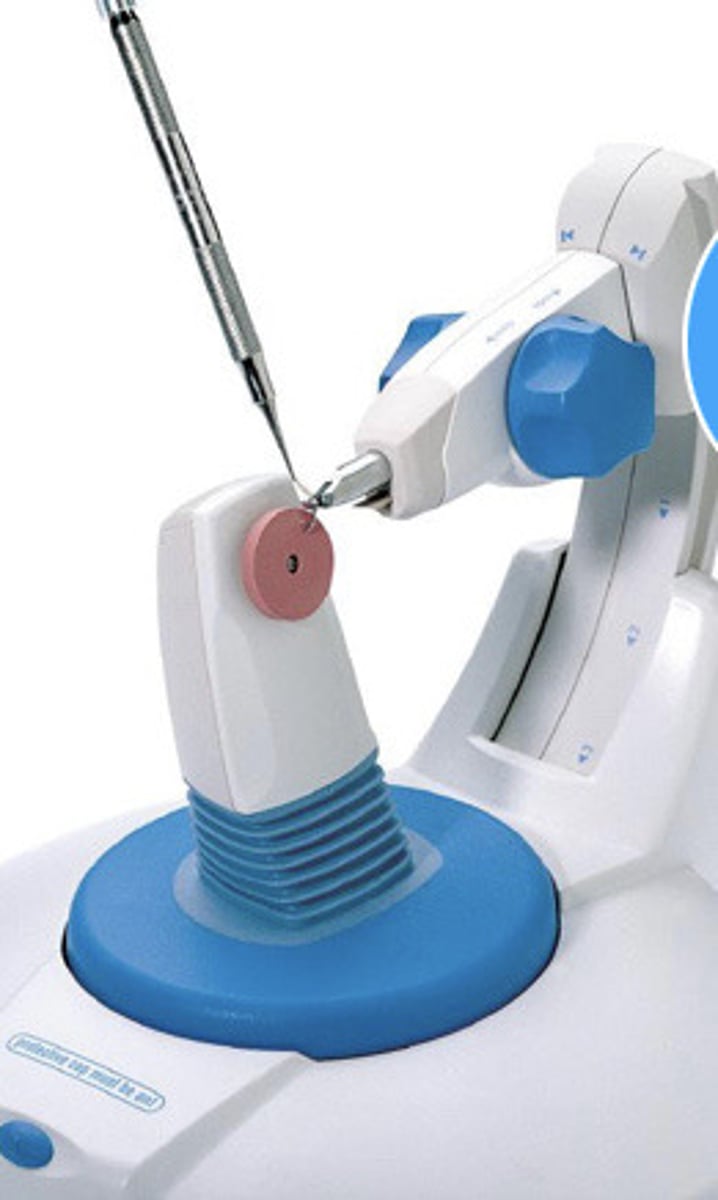
LM-RondoPlus
1200$
Periostar 3000
800$
Sharpening services
Send them out for repair or sharpening
when to sharpen
Whenever needed 15-45 stokes
Oversharpend risk for breaking
disposable instruments
American eagle, LM sharp Diamond coated instruments
Holding instrument when sharpening
MOVING STONE TECHNIQUE
Hold stone indominant hand
• Hold the stone at the edges with all fingers and thumb
• Stone moves - the instrument does not
SHARPENING TECHNIQUE: getting started
Need a good light source
• Headlight or overhead light
• Hold instrument in non-dominant hand• Palm grasp with thumb against the instrument•
Elbow against the body or resting on the table/counter
• Stabilize the arm
HE INTERNAL ANGLE IS
70-80
HE STONE IS PLACED AT
110º stone tilted away from the face of the instrument
HIS ANGULATION IS THE SAME FORSICKLES and CURETTES
face of instrument parallel to the floor
SHARPENING TECHNIQUEDivide the cutting edge into three imaginary sections
1. Toe 2. Middle 3. Heel