Lab Testing Lumbar and Sacrum
1/14
There's no tags or description
Looks like no tags are added yet.
Name | Mastery | Learn | Test | Matching | Spaced | Call with Kai |
|---|
No analytics yet
Send a link to your students to track their progress
15 Terms
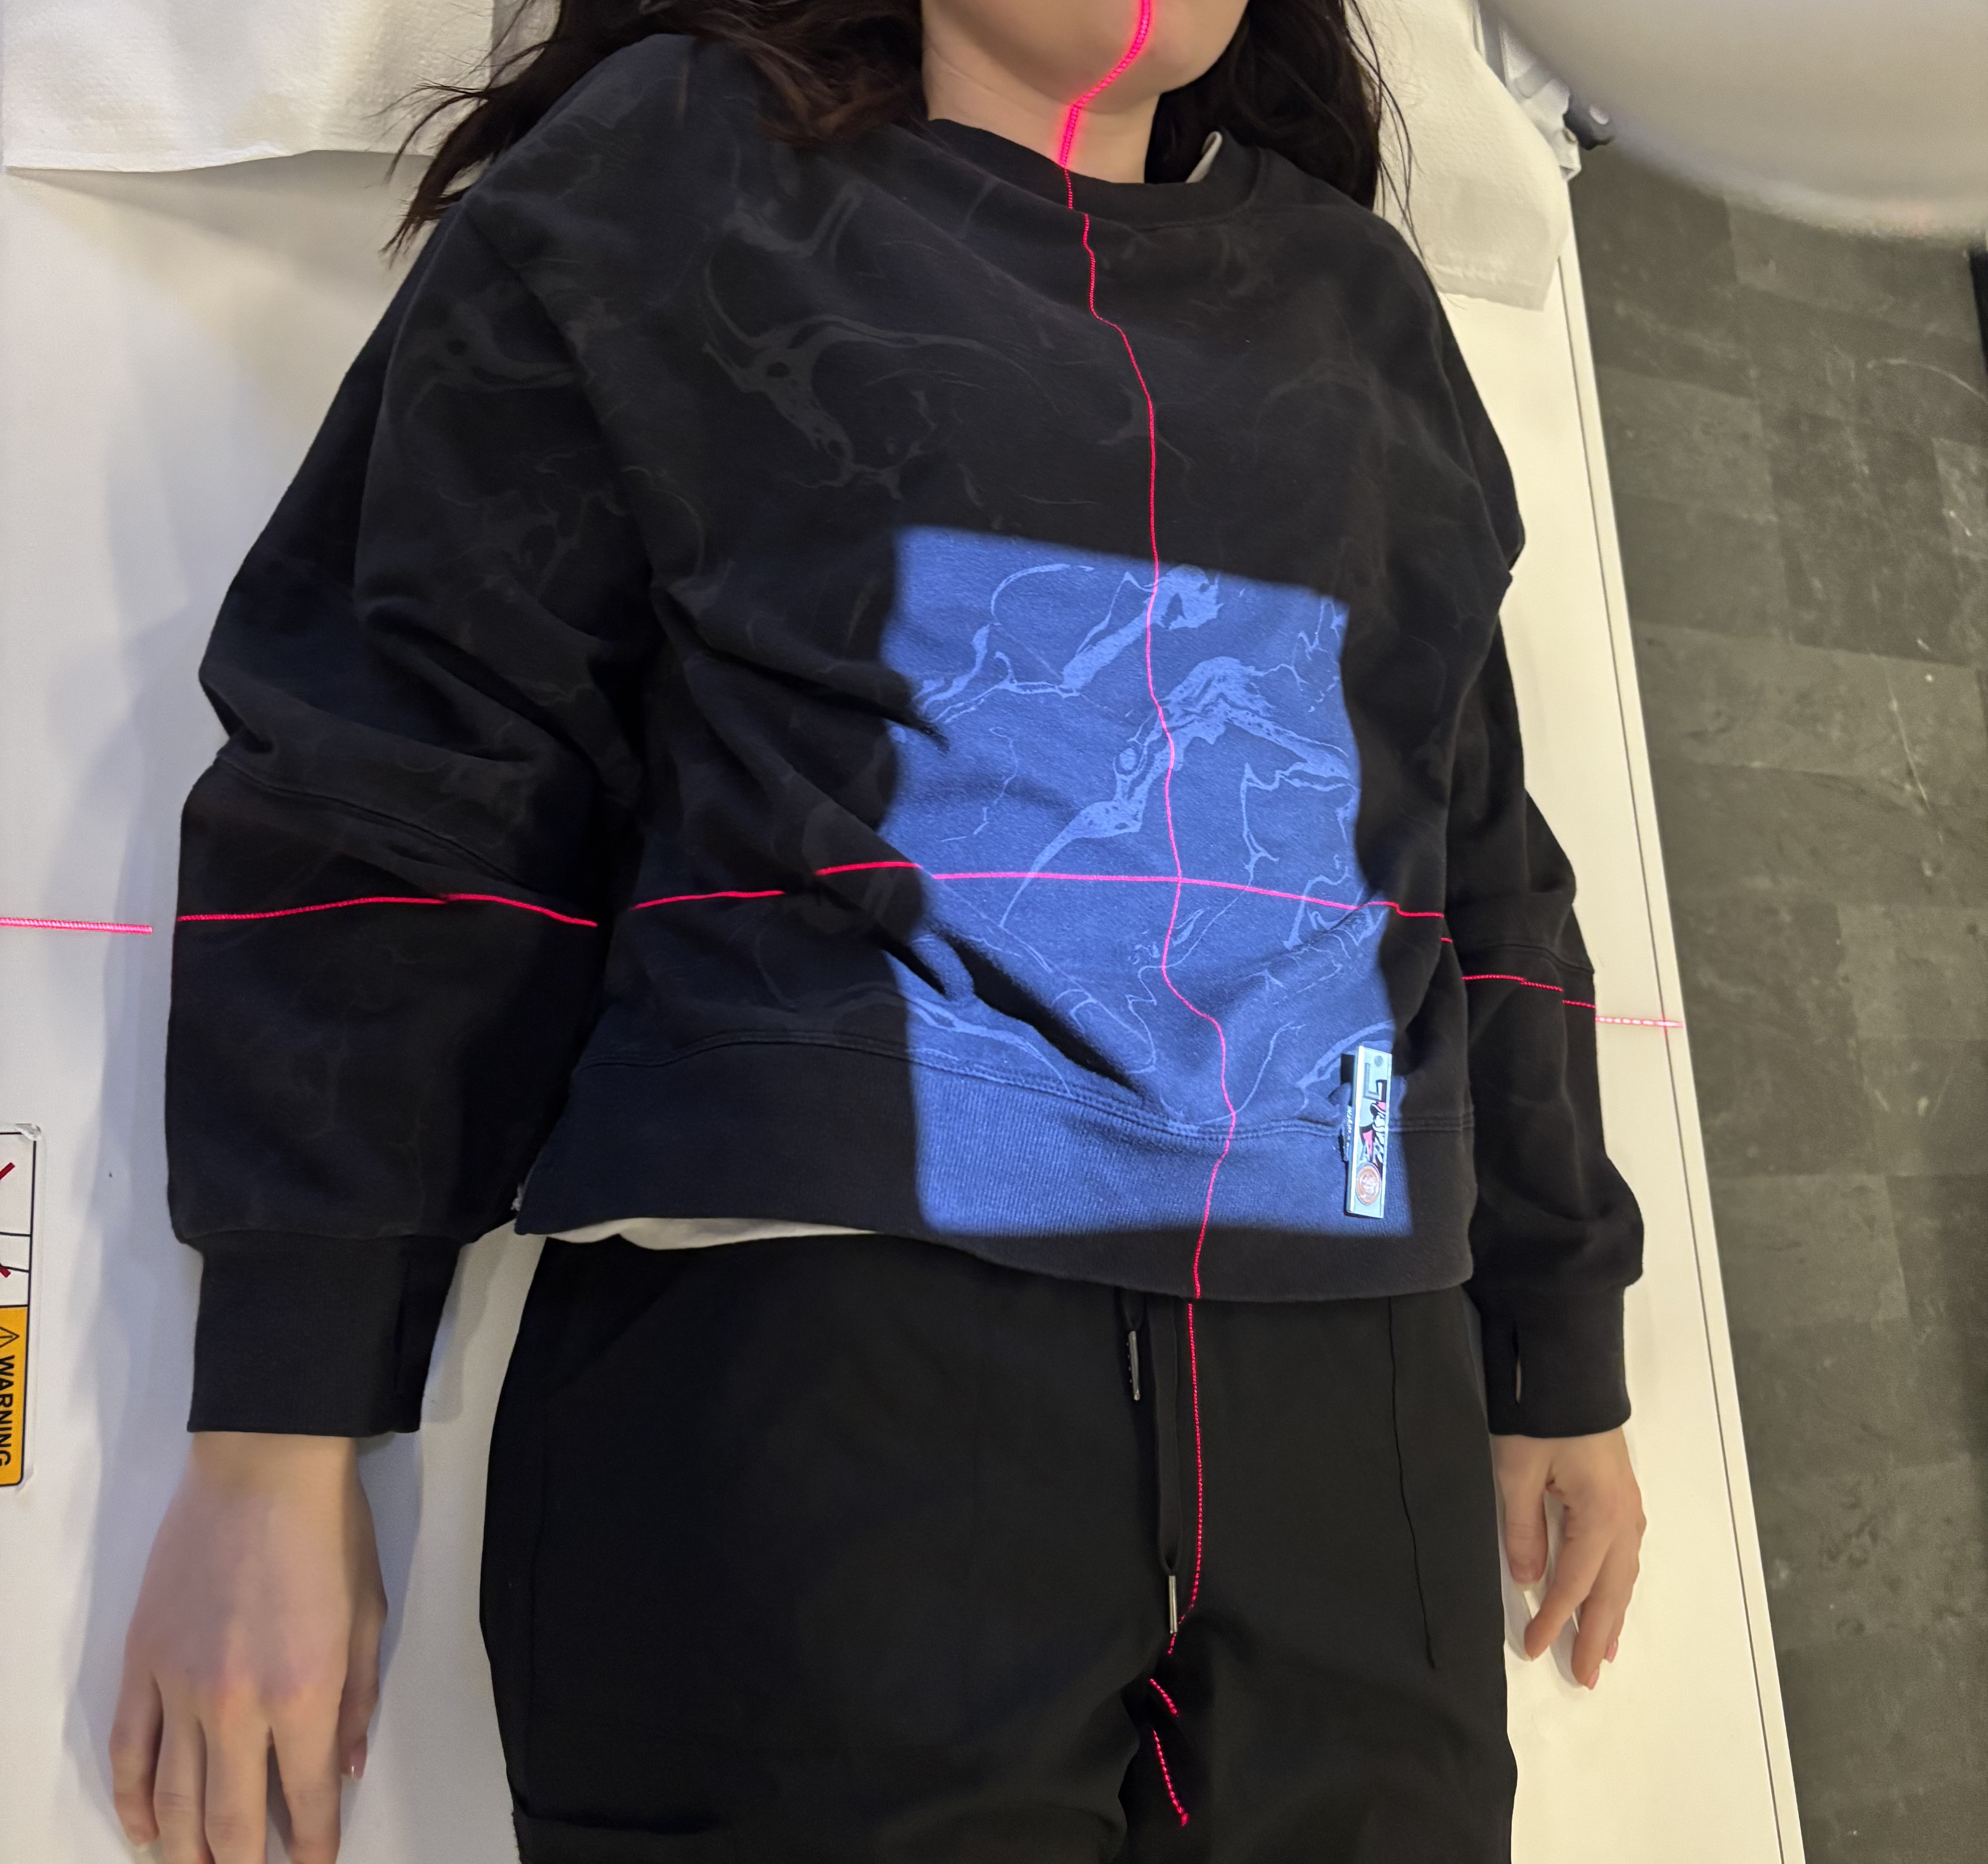
Lumbar- AP
• Patient Position: Supine; knees flexed
• SID: 40”
• CR Center: 2 inches above iliac crest
• CR Angle: None
• Collimation: 11×14
• Technique: 75–80 kVp, ~32 mAs
• Breathing: Suspend on expiration
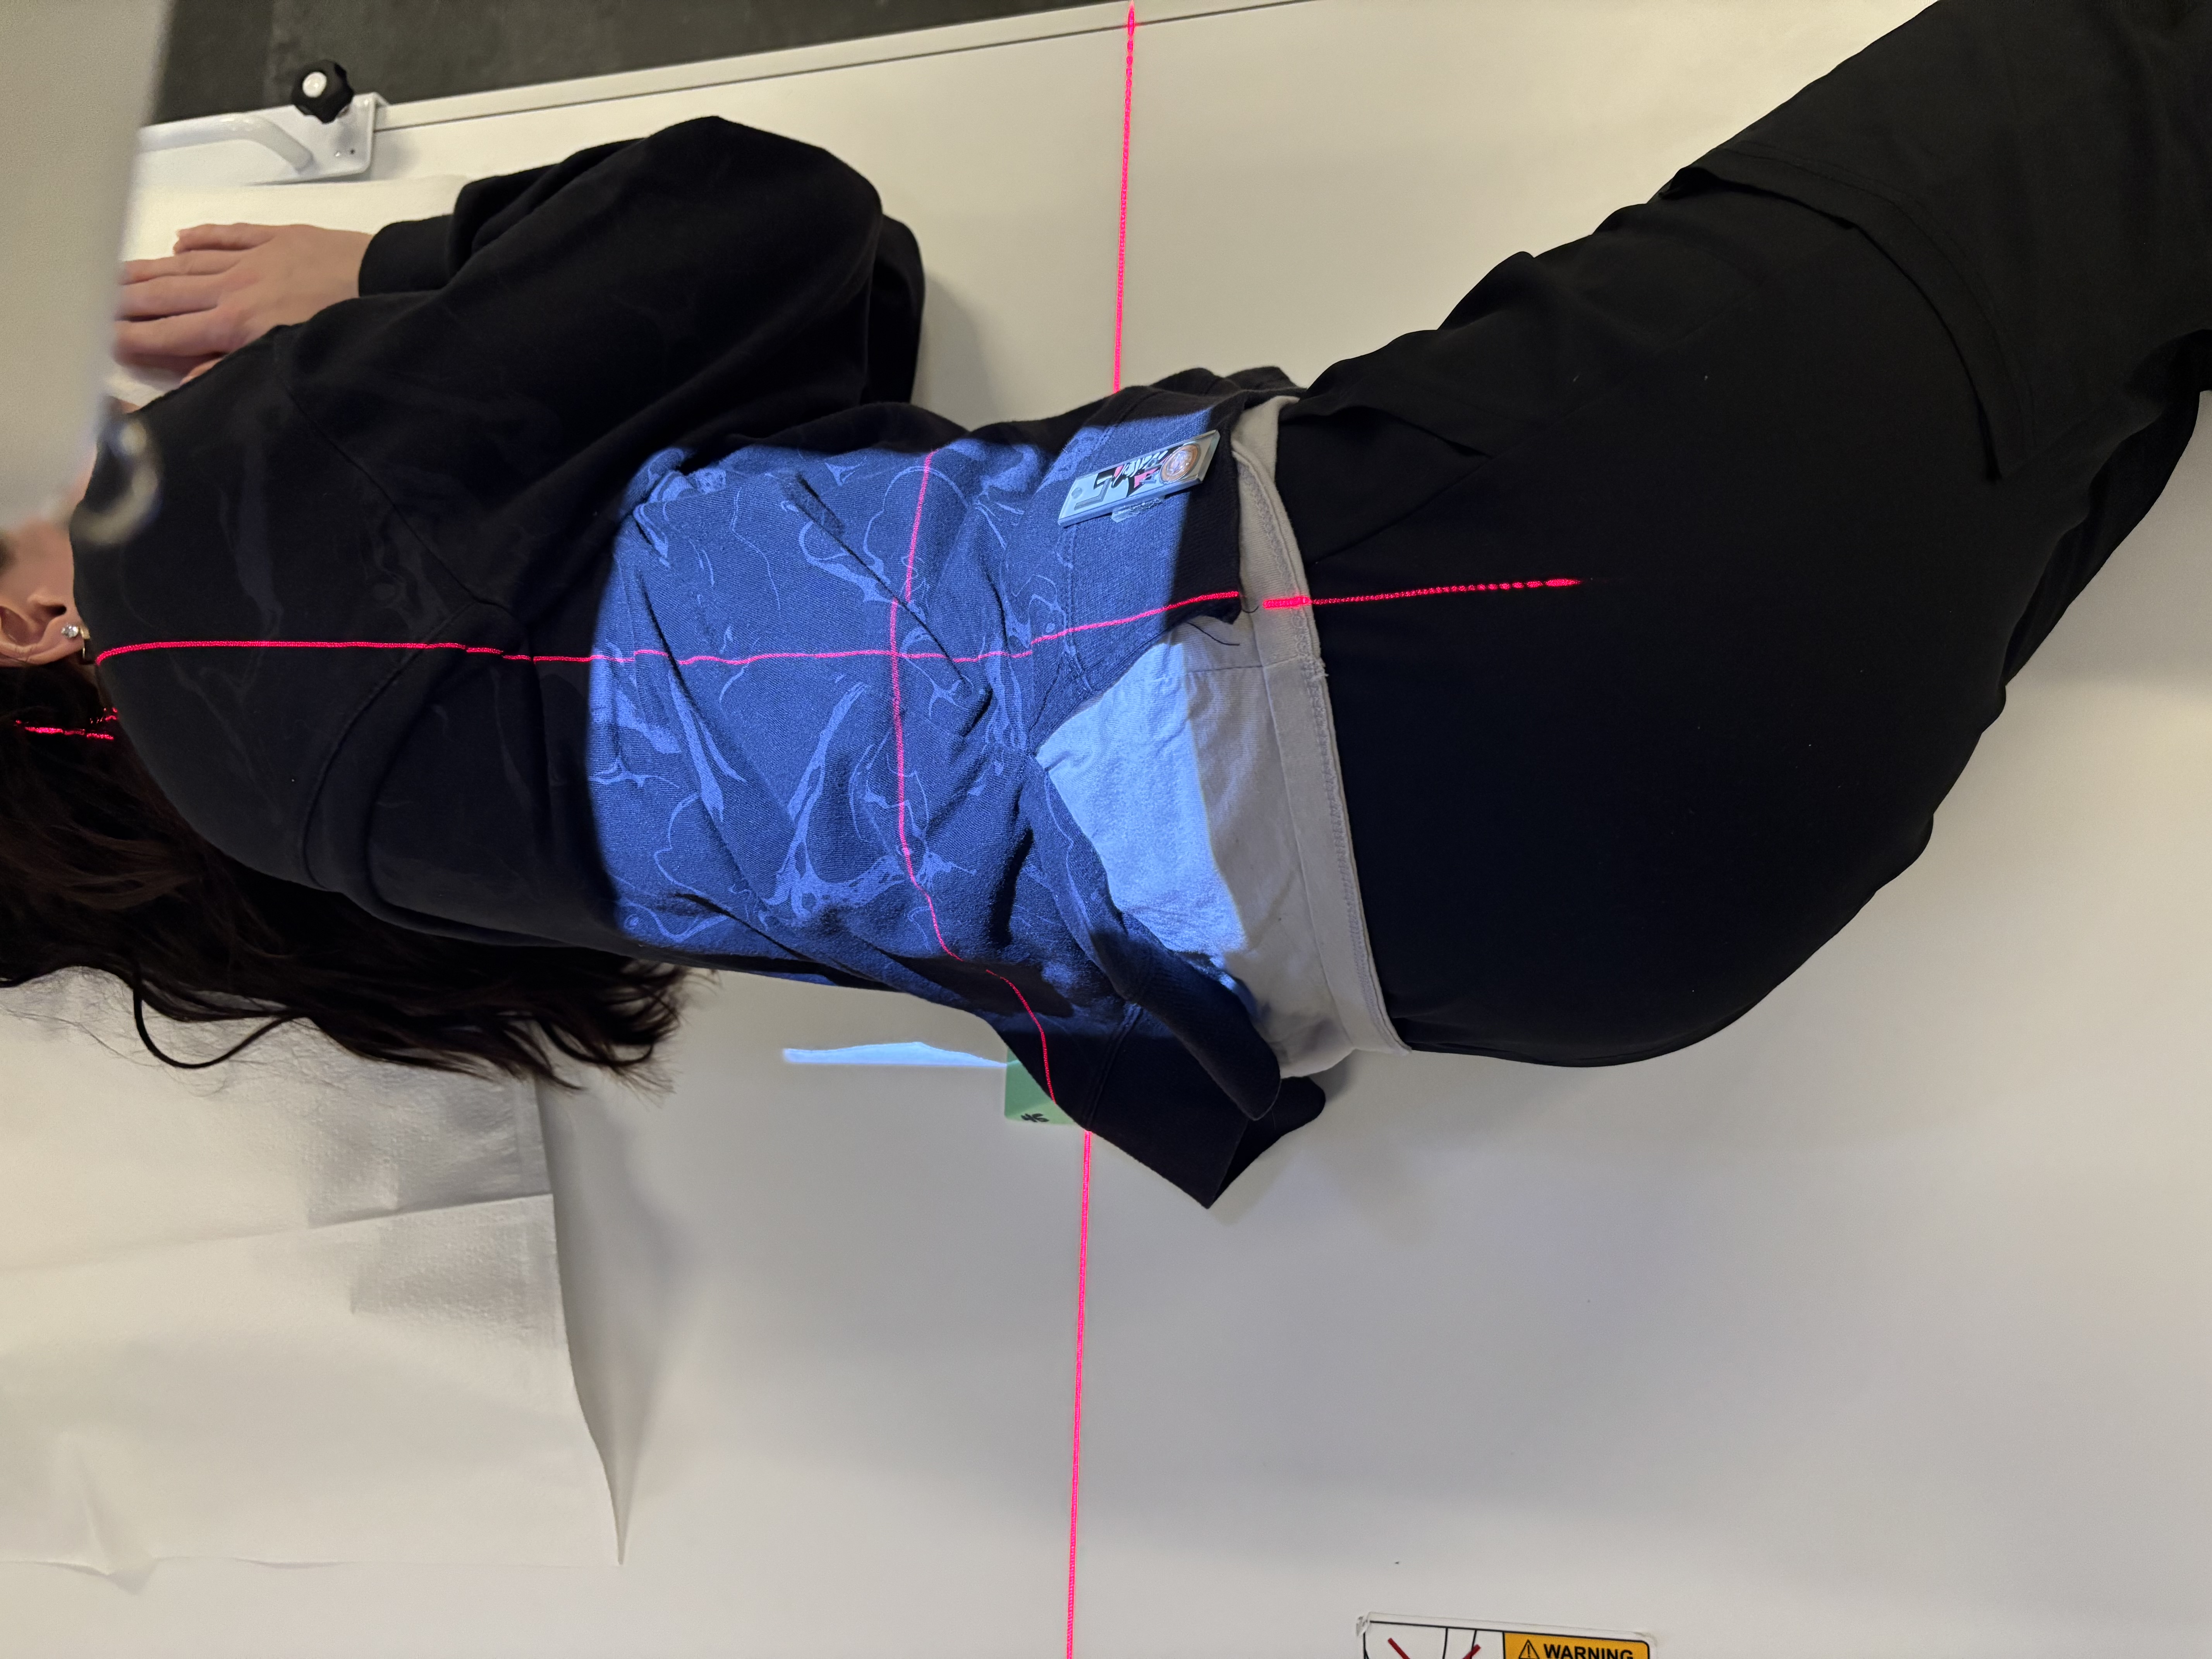
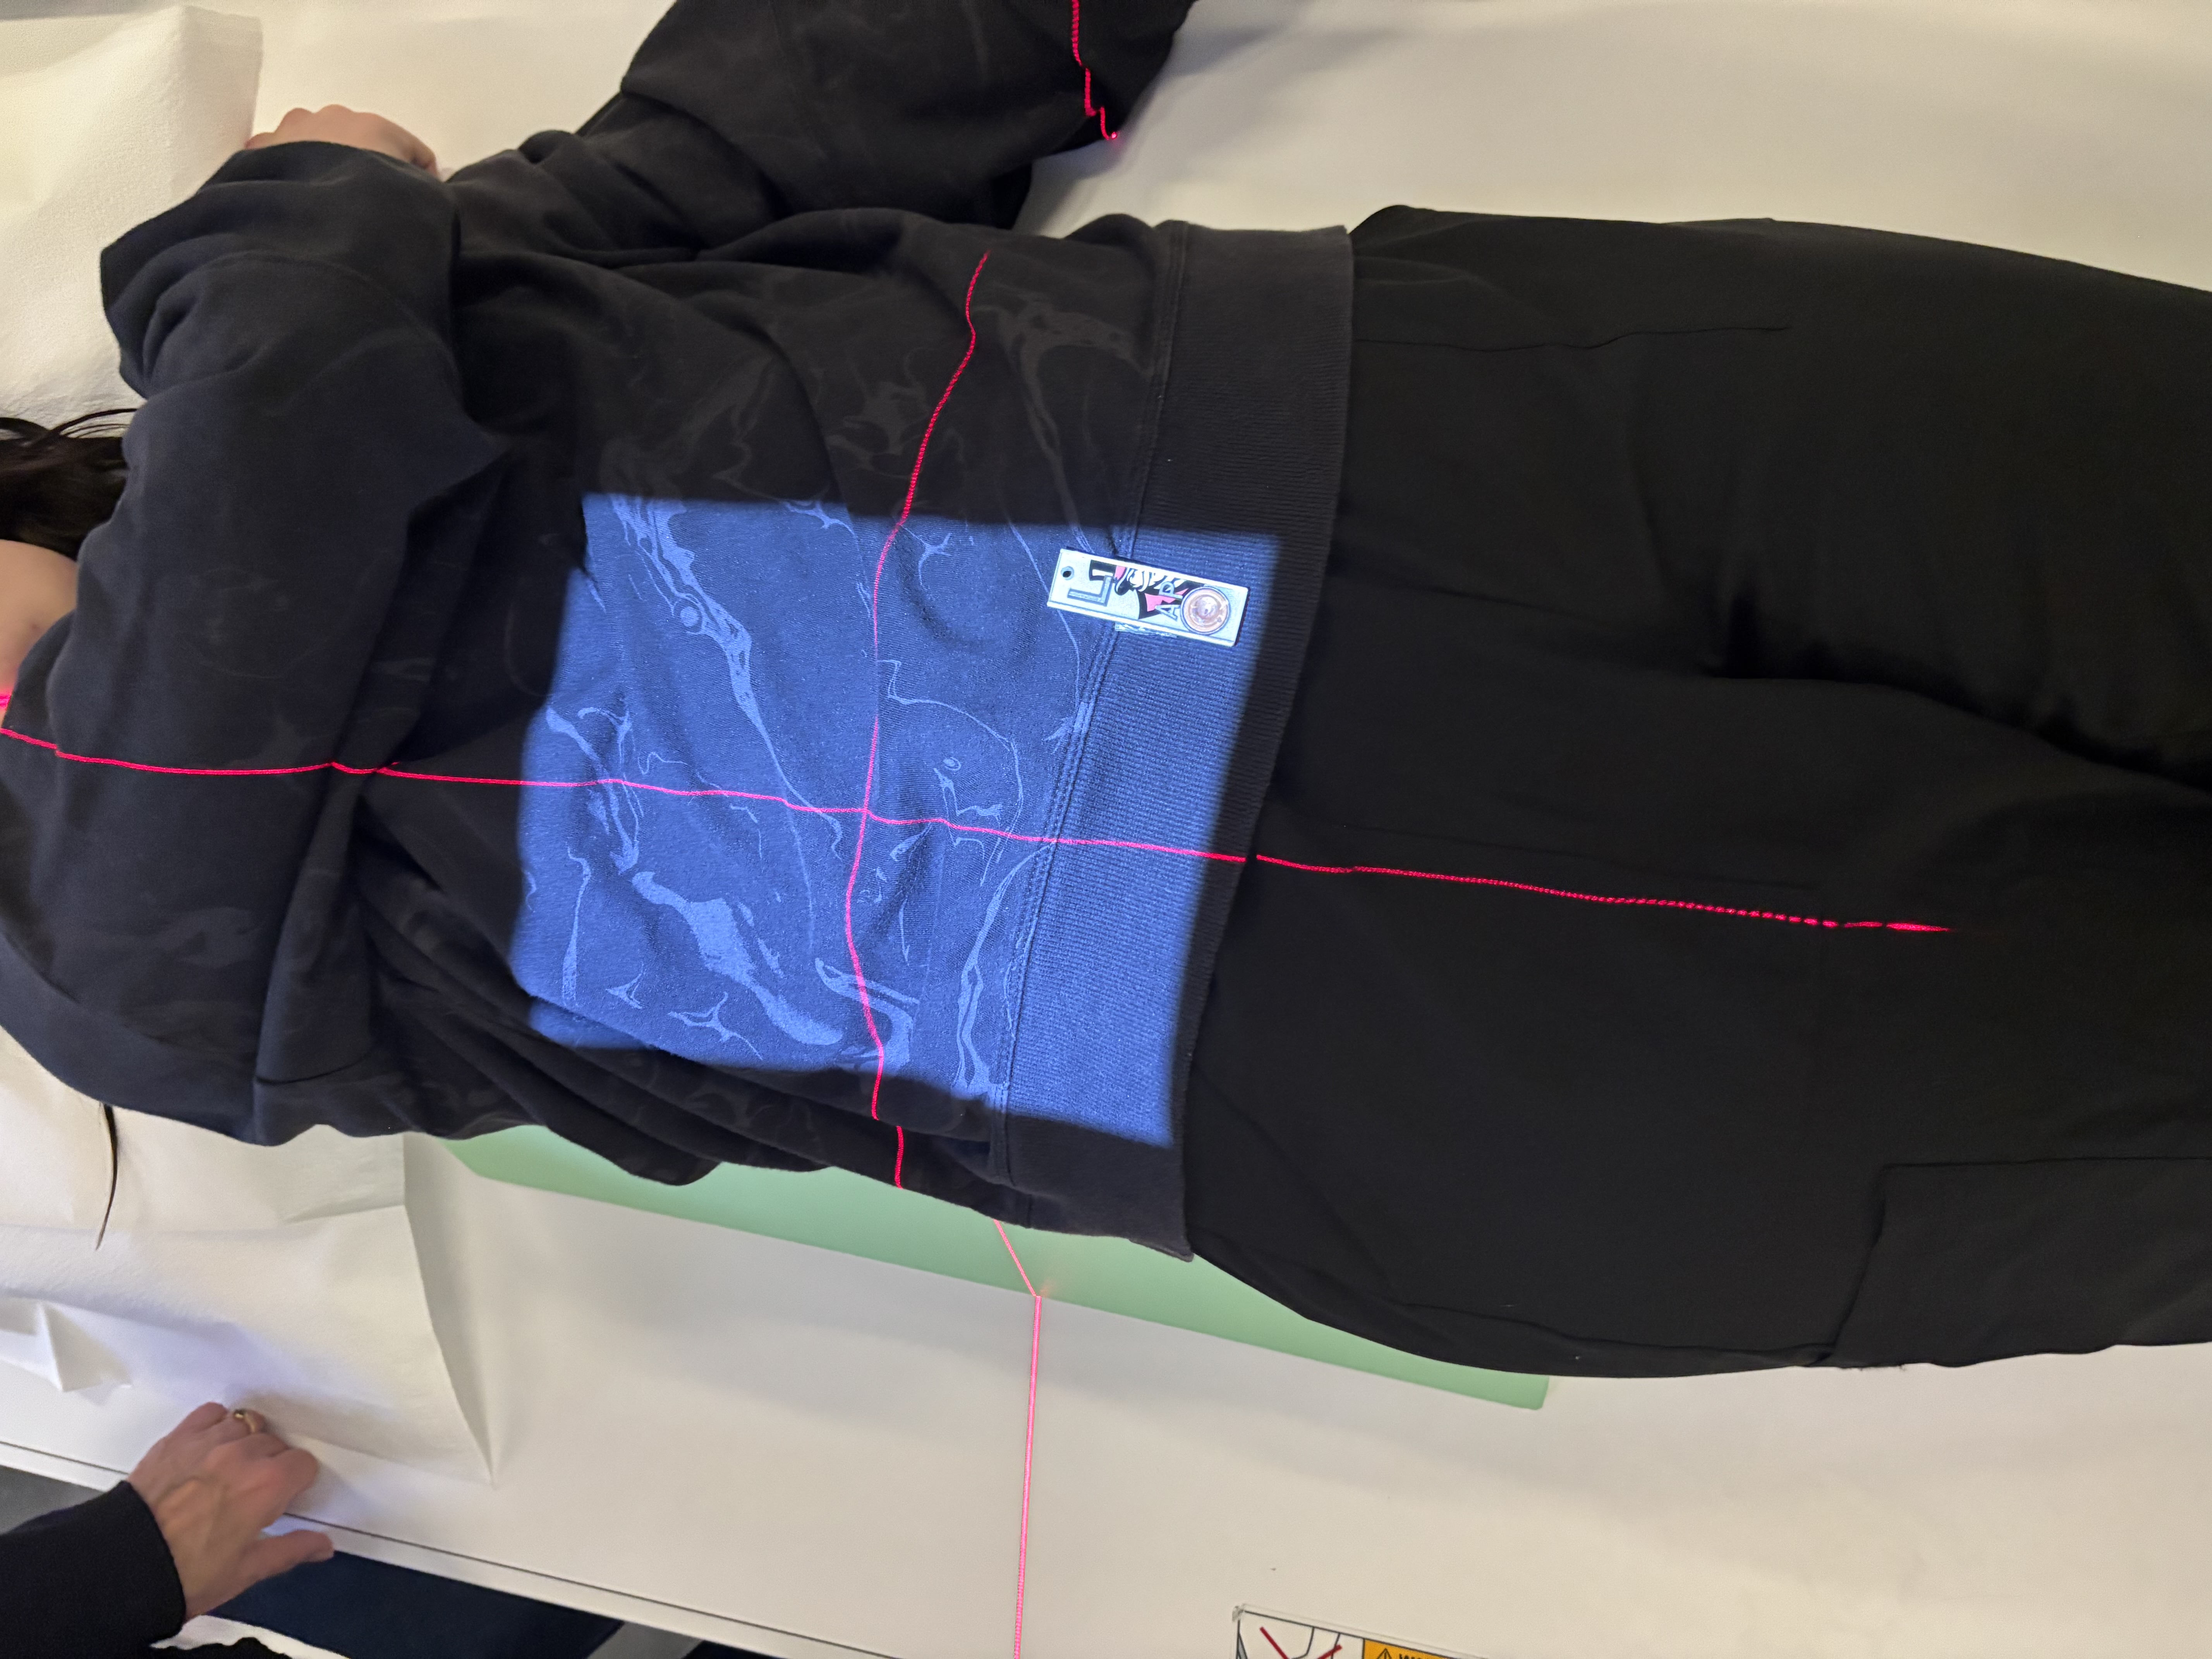
Lumbar- Lateral
• Patient Position: True lateral; knees bent; lead mat behind patient, place sponge
• SID: 40”
• CR Center: 2 in above iliac crest
• CR Angle: None
• Collimation: 11×14
• Technique: 75–80 kVp, 60–160 mAs
• Breathing: Suspend on expiration
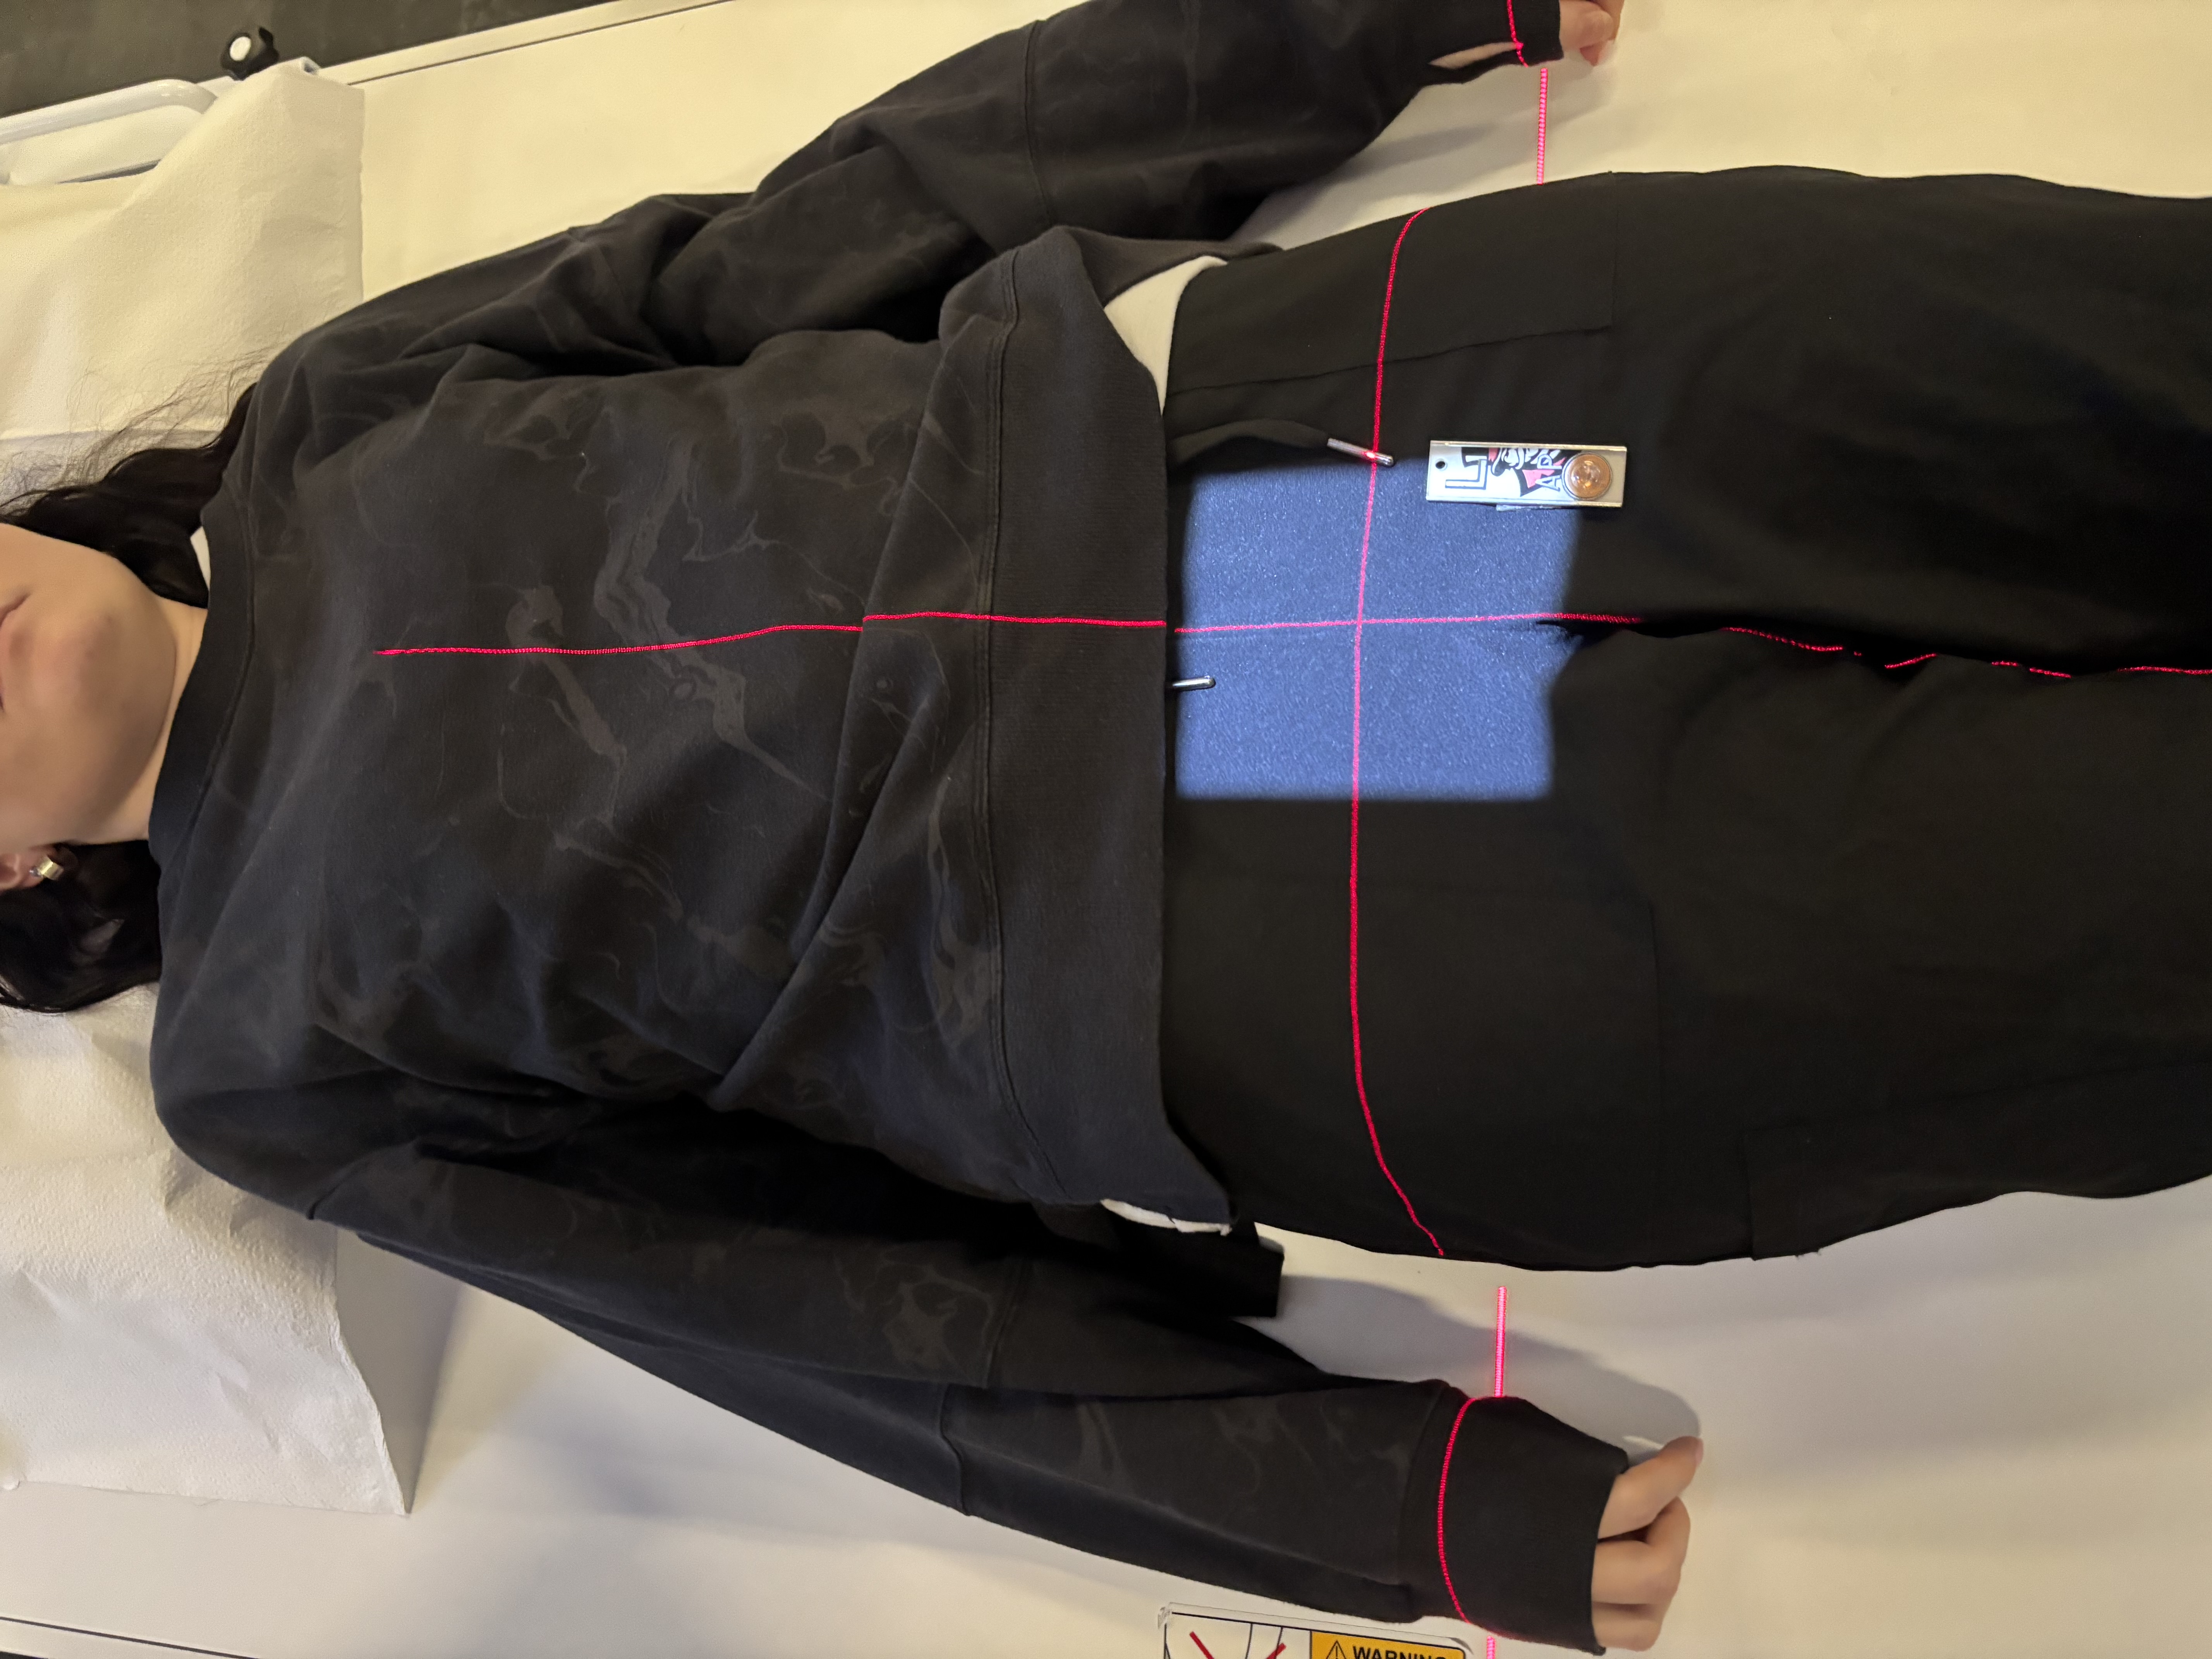
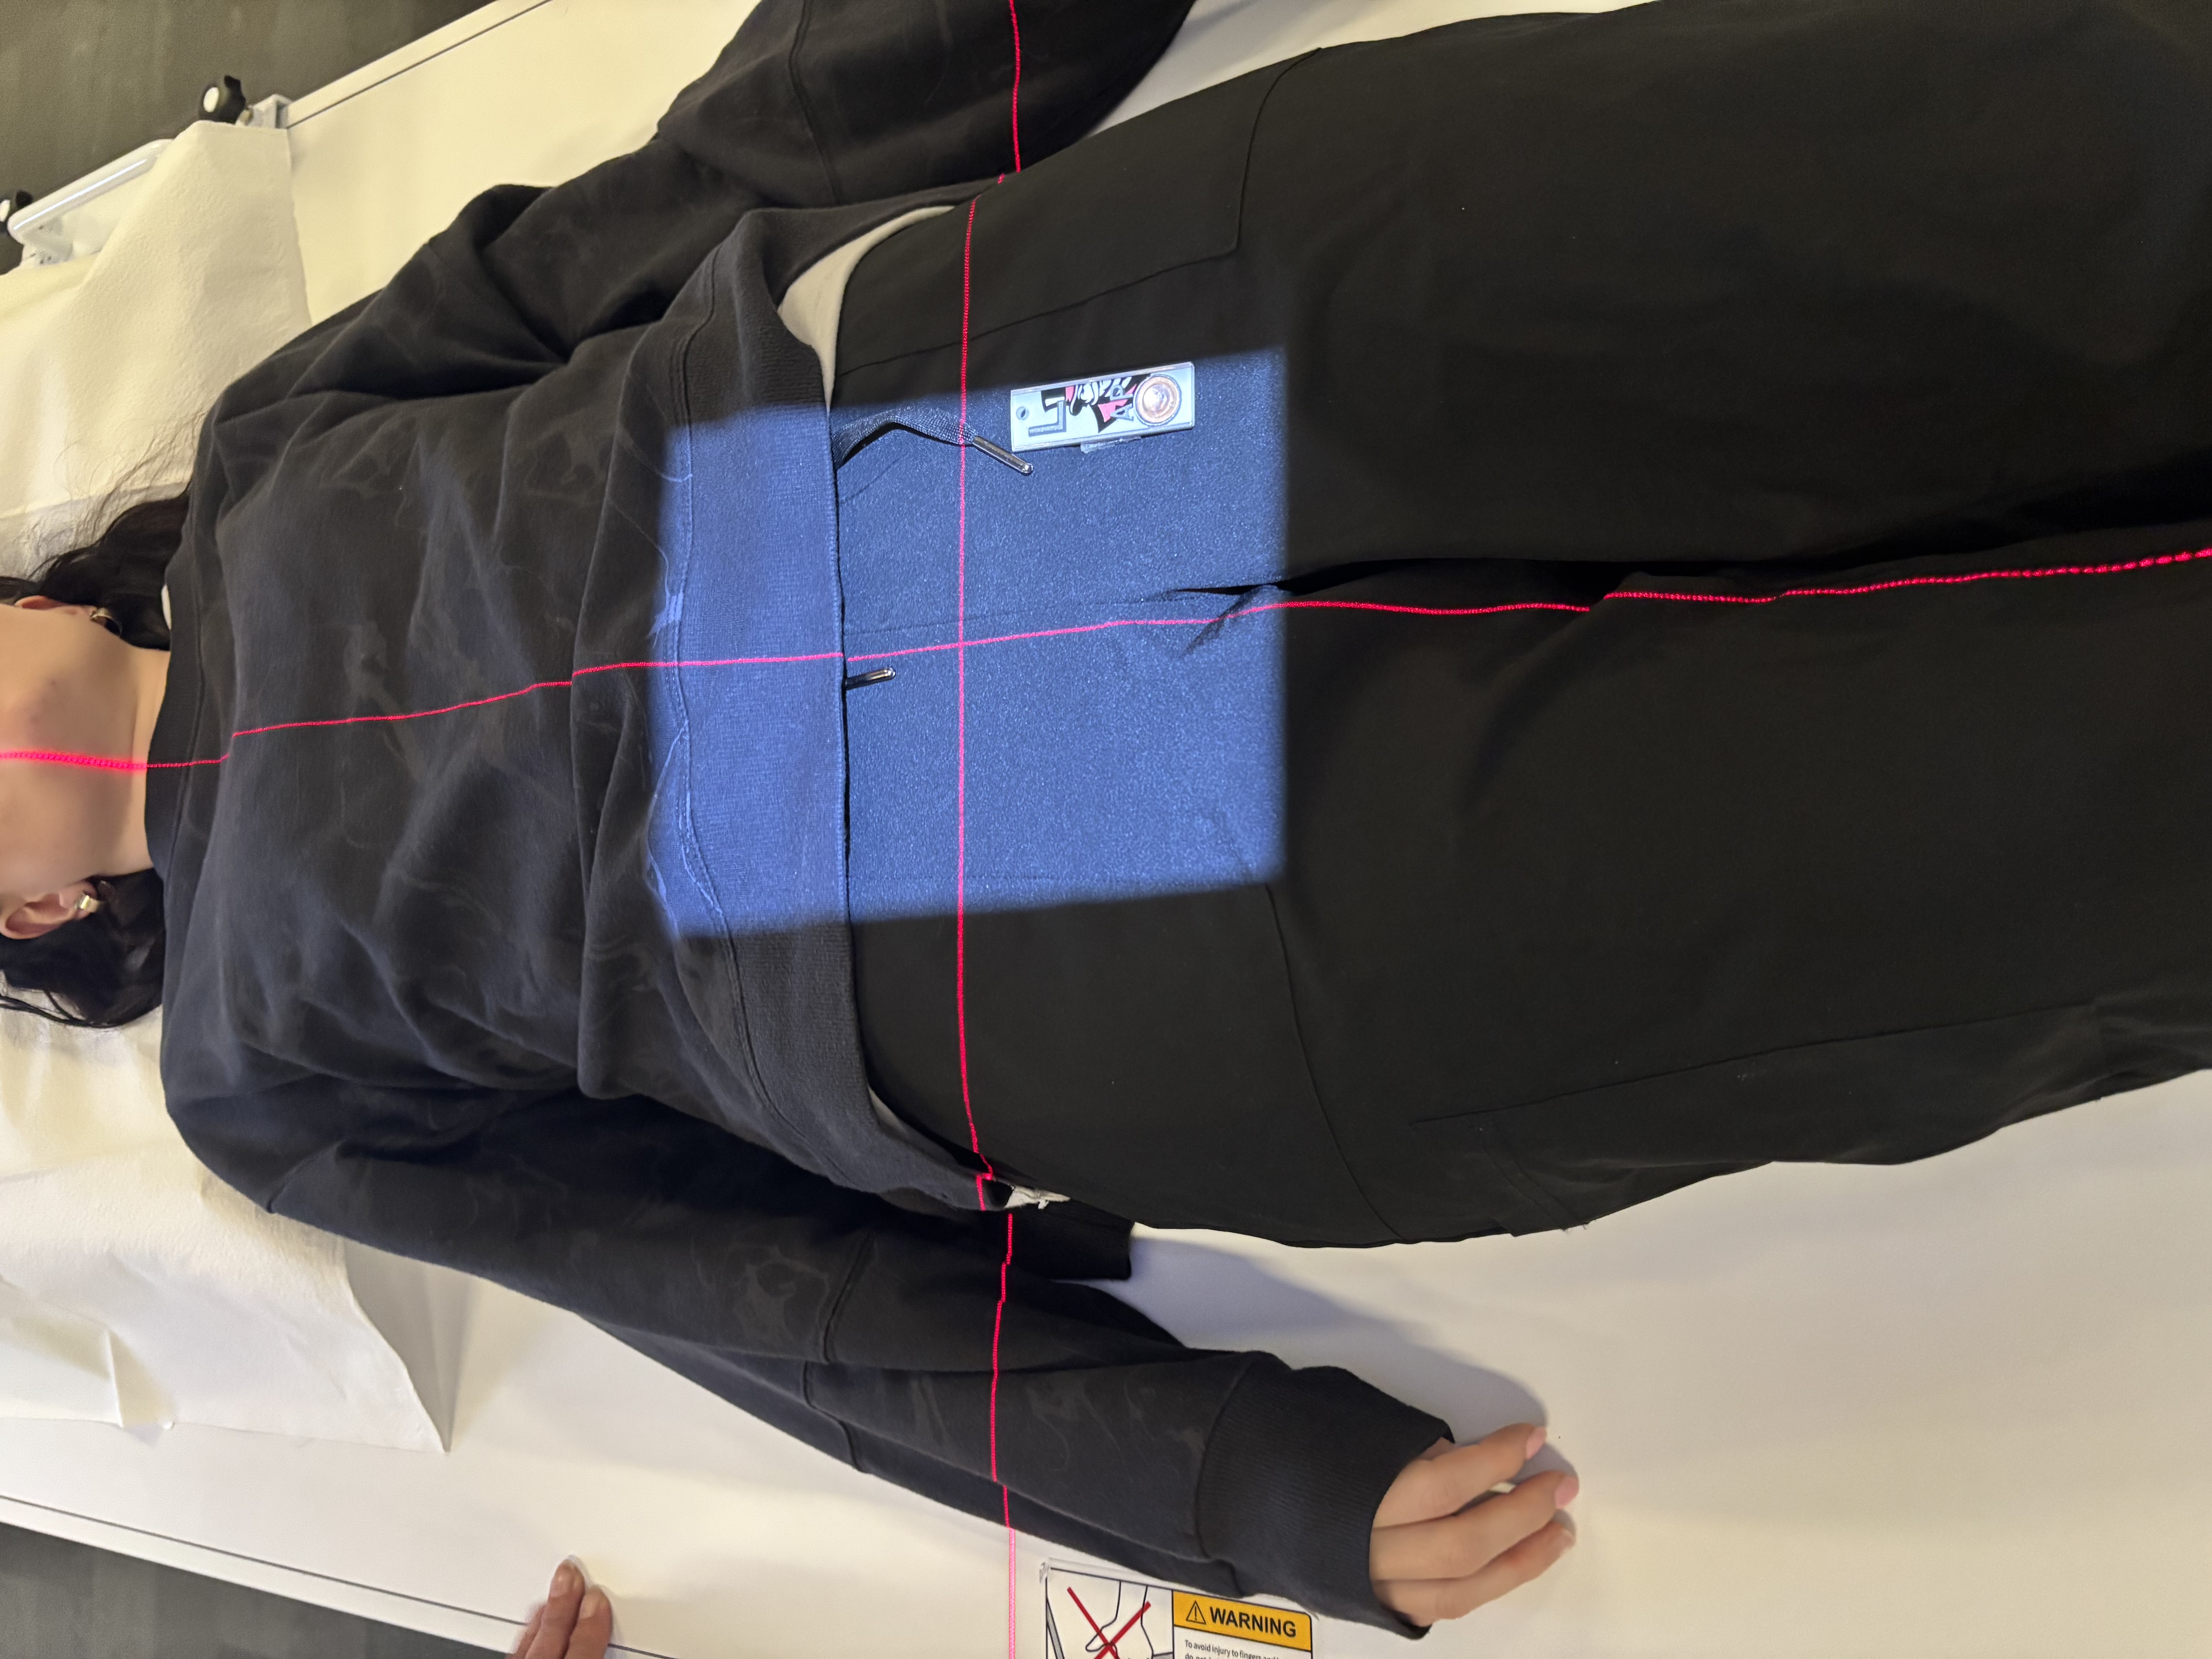
Lumbar- Posterior Oblique
• Patient Position: Body rotated 45°; shoulders and hips rotated equally
• SID: 40”
• CR Center: 2 in above iliac crest and 2 inches medial to upside ASIS
• mark downside
• CR Angle: None
• Collimation: 11×14
• Technique: 75–80 kVp, ~32 mAs
• Breathing: Suspend on expiration
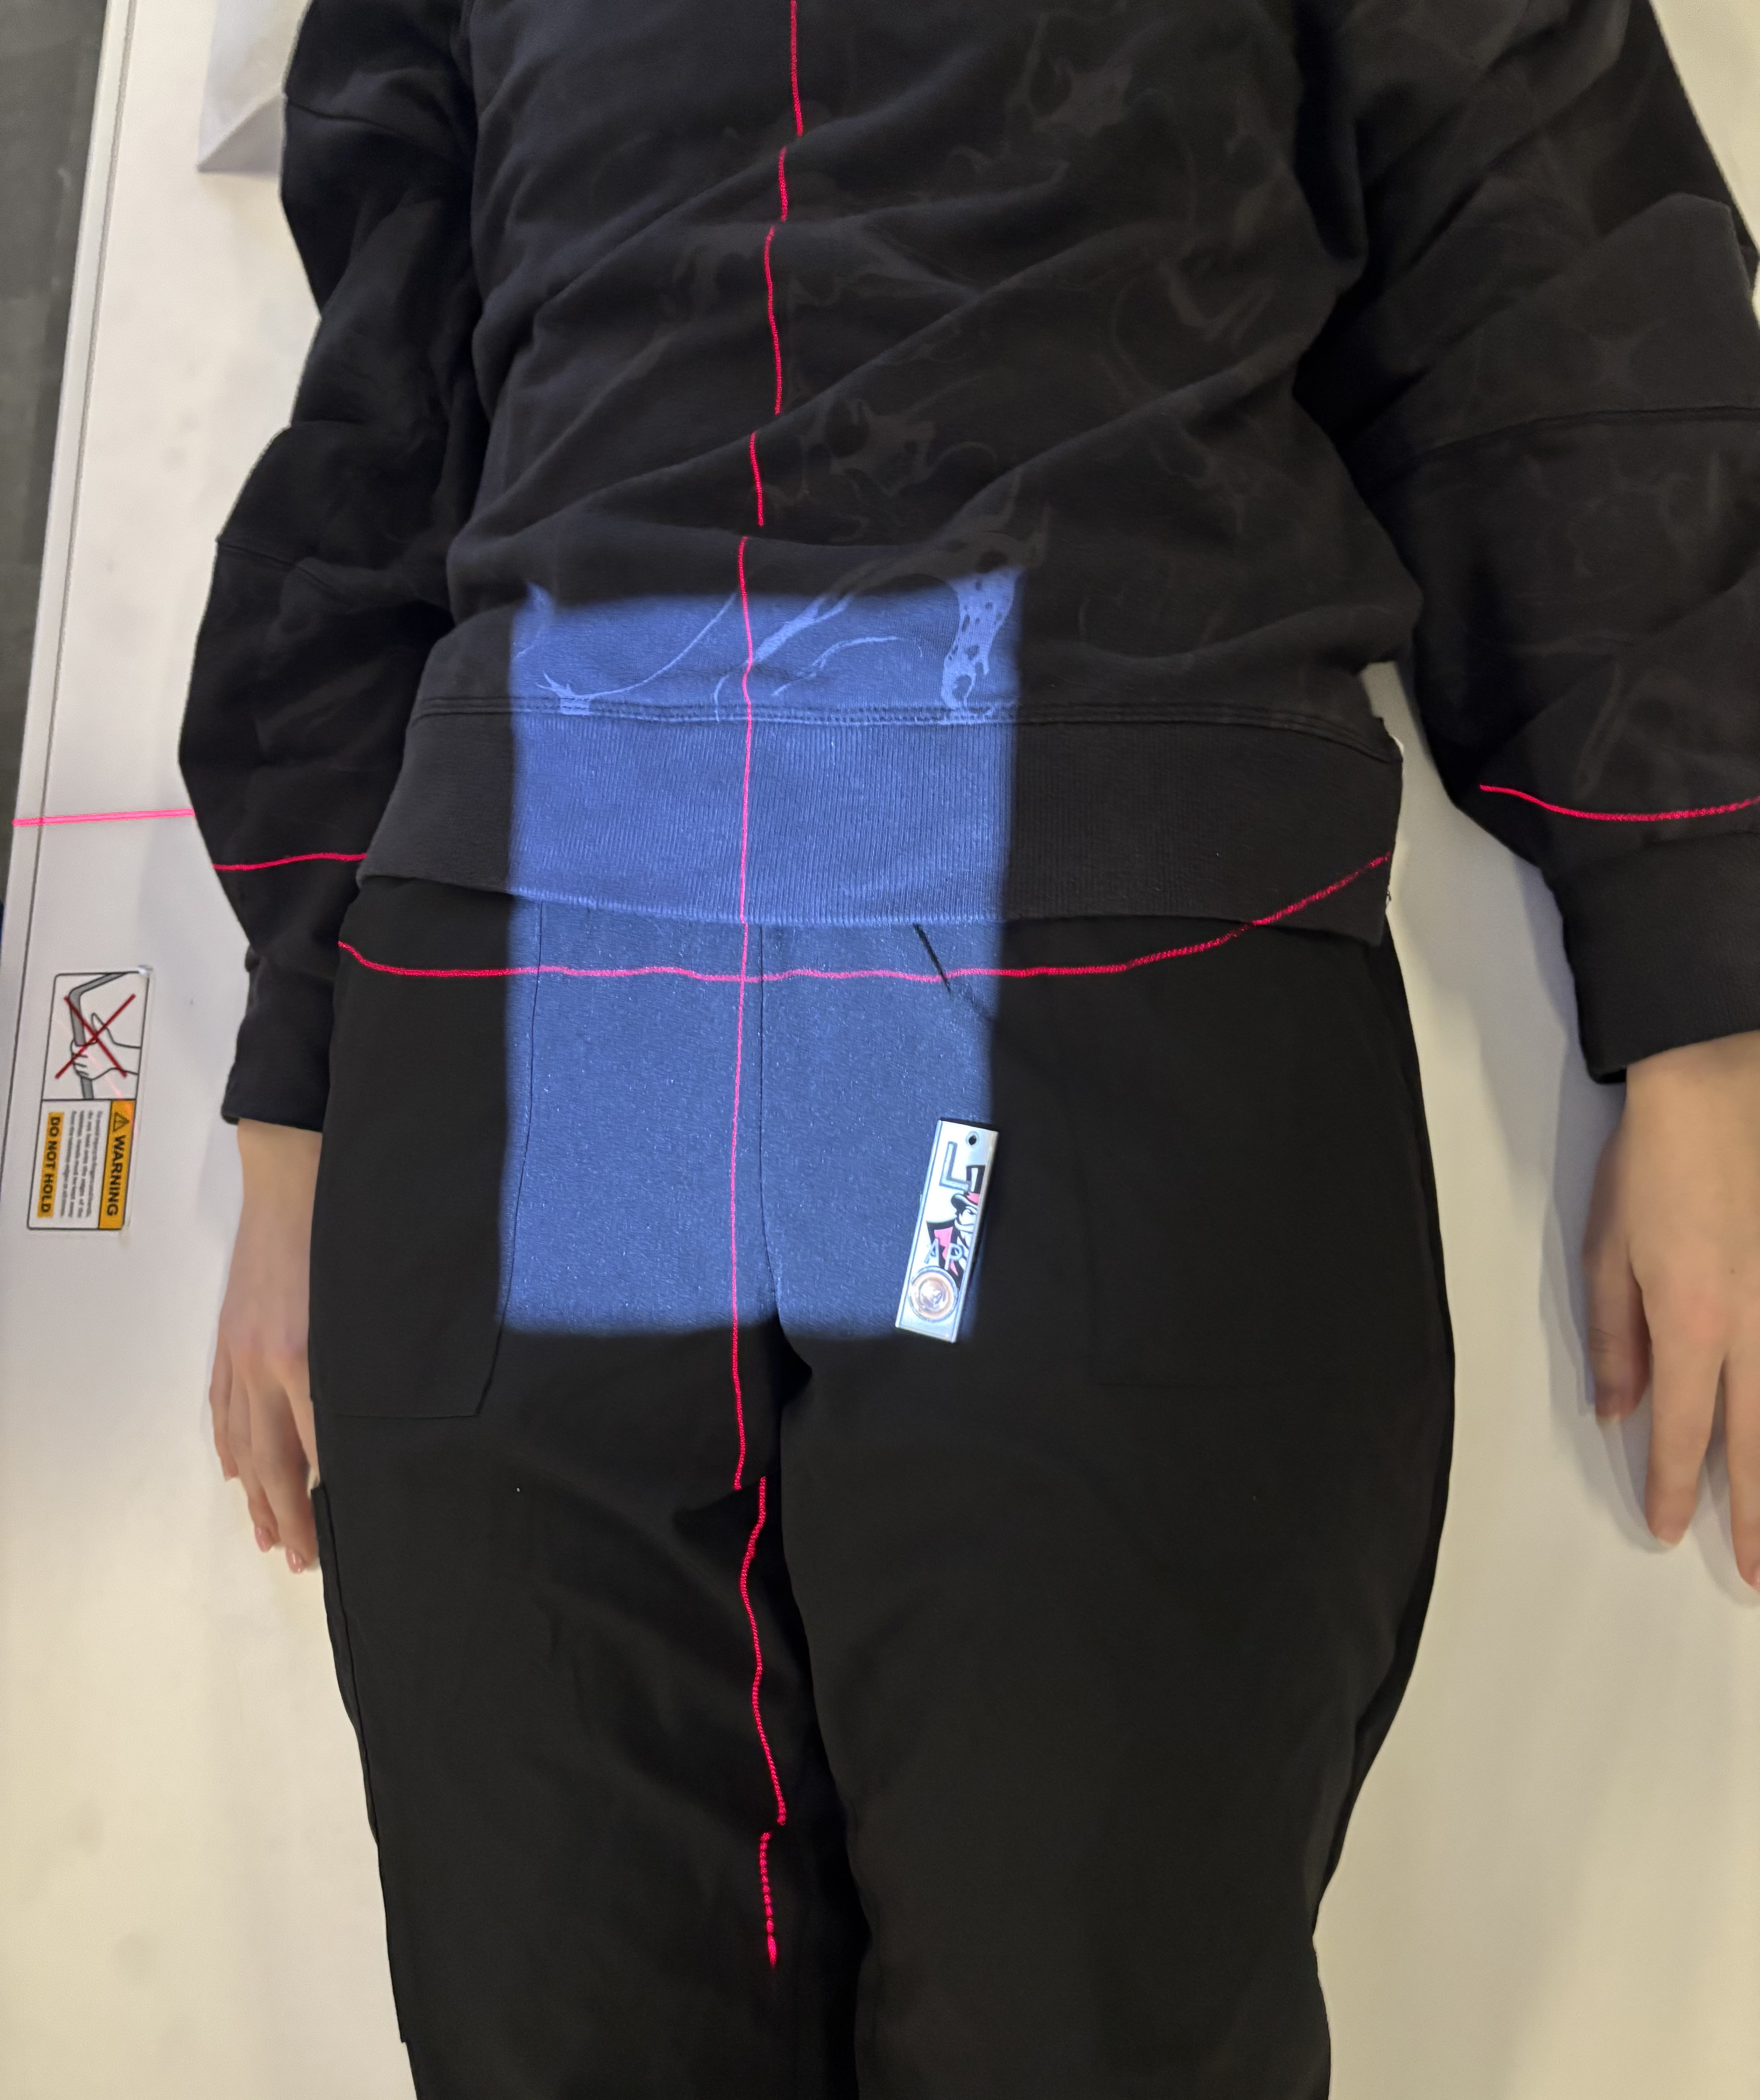
Lumbar- L5- S1 spot
• Patient Position: Supine
• SID: 40”
• CR Center: At ASIS
• CR Angle: 30° cephalad (male) / 35° cephalad (female)
• Collimation: 8×10
• Technique: 75–80 kVp, ~32 mAs
• Breathing: Suspend
Lumbar- lateral L5 S1 spot
• Patient Position: True lateral; support under waist; lead mat
• SID: 40”
• CR Center: 2in below crest and 2in posterior to ASIS
• CR Angle: 5–8° caudad (5° male, 8° female)
• Collimation: 8×10
• Technique: 75–80 kVp, 60–160 mAs
• Breathing: Suspend
Lumbar- Flexion
• Patient Position: Lateral; bend forward
• SID: 40
• CR Center: 2 in above iliac crest
• CR Angle: None
• Collimation: 11×14
• Technique: 75–80 kVp, 60–120 mAs
• Breathing: Suspend
Lumbar- Extension
• Patient Position: Lateral; bend backward
• SID: 40
• CR Center: 2 in above iliac crest
• CR Angle: None
• Collimation: 11×14
• Technique: 75–80 kVp, 60–120 mAs
• Breathing: Suspend
Sacrum- AP Axial
• Patient Position: Supine
• SID: 40”
• CR Center: 2in below ASIS
• CR Angle: 15° cephalad
• Collimation: 10×12
• Technique: 75–80 kVp, ~32 mAs
• Breathing: Suspend
Coccyx- AP Axial
• Patient Position: Supine
• SID: 40”
• CR Center: 2in below ASIS
• CR Angle: 10° caudad
• Collimation: 8×8
• Technique: 75–80 kVp, ~32 mAs
• Breathing: Suspend

Sacrum & Coccyx- Lateral
• Patient Position: True lateral; knees bent; lead mat
• SID: 40”
• CR Center: 3-4 in posterior to ASIS
• CR Angle: None
• Collimation: 10×12
• Technique: 75–80 kVp, ~32 mAs
• Breathing: Suspend
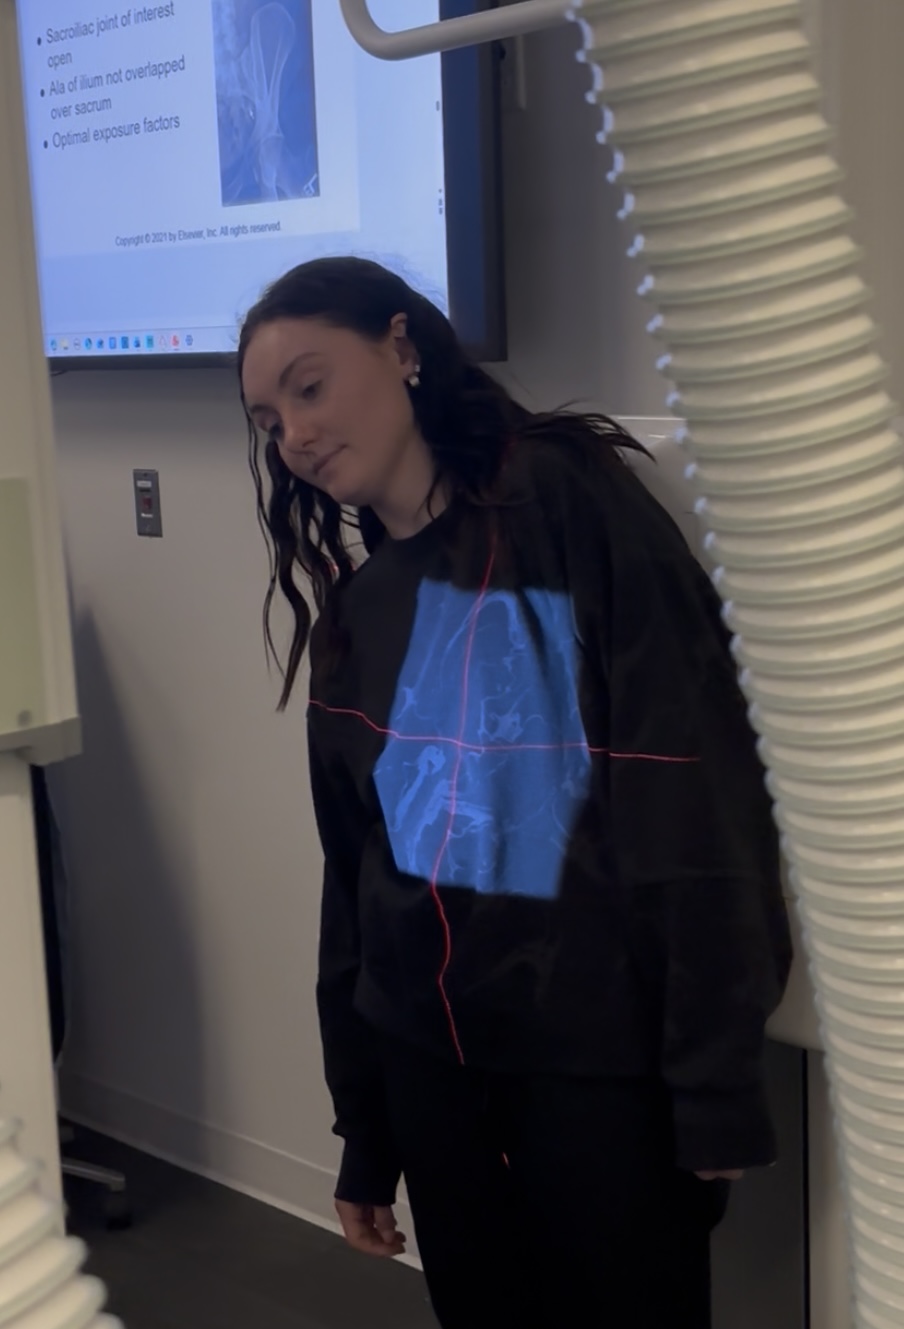
SI Joints- AP Axial
• Patient Position: Supine
• SID: 40”
• CR Center: 2 inches below ASIS
• CR Angle: 35° cephalad
• Collimation: 10×12
• Technique: 75–80 kVp, ~32 mAs
• Breathing: Suspend
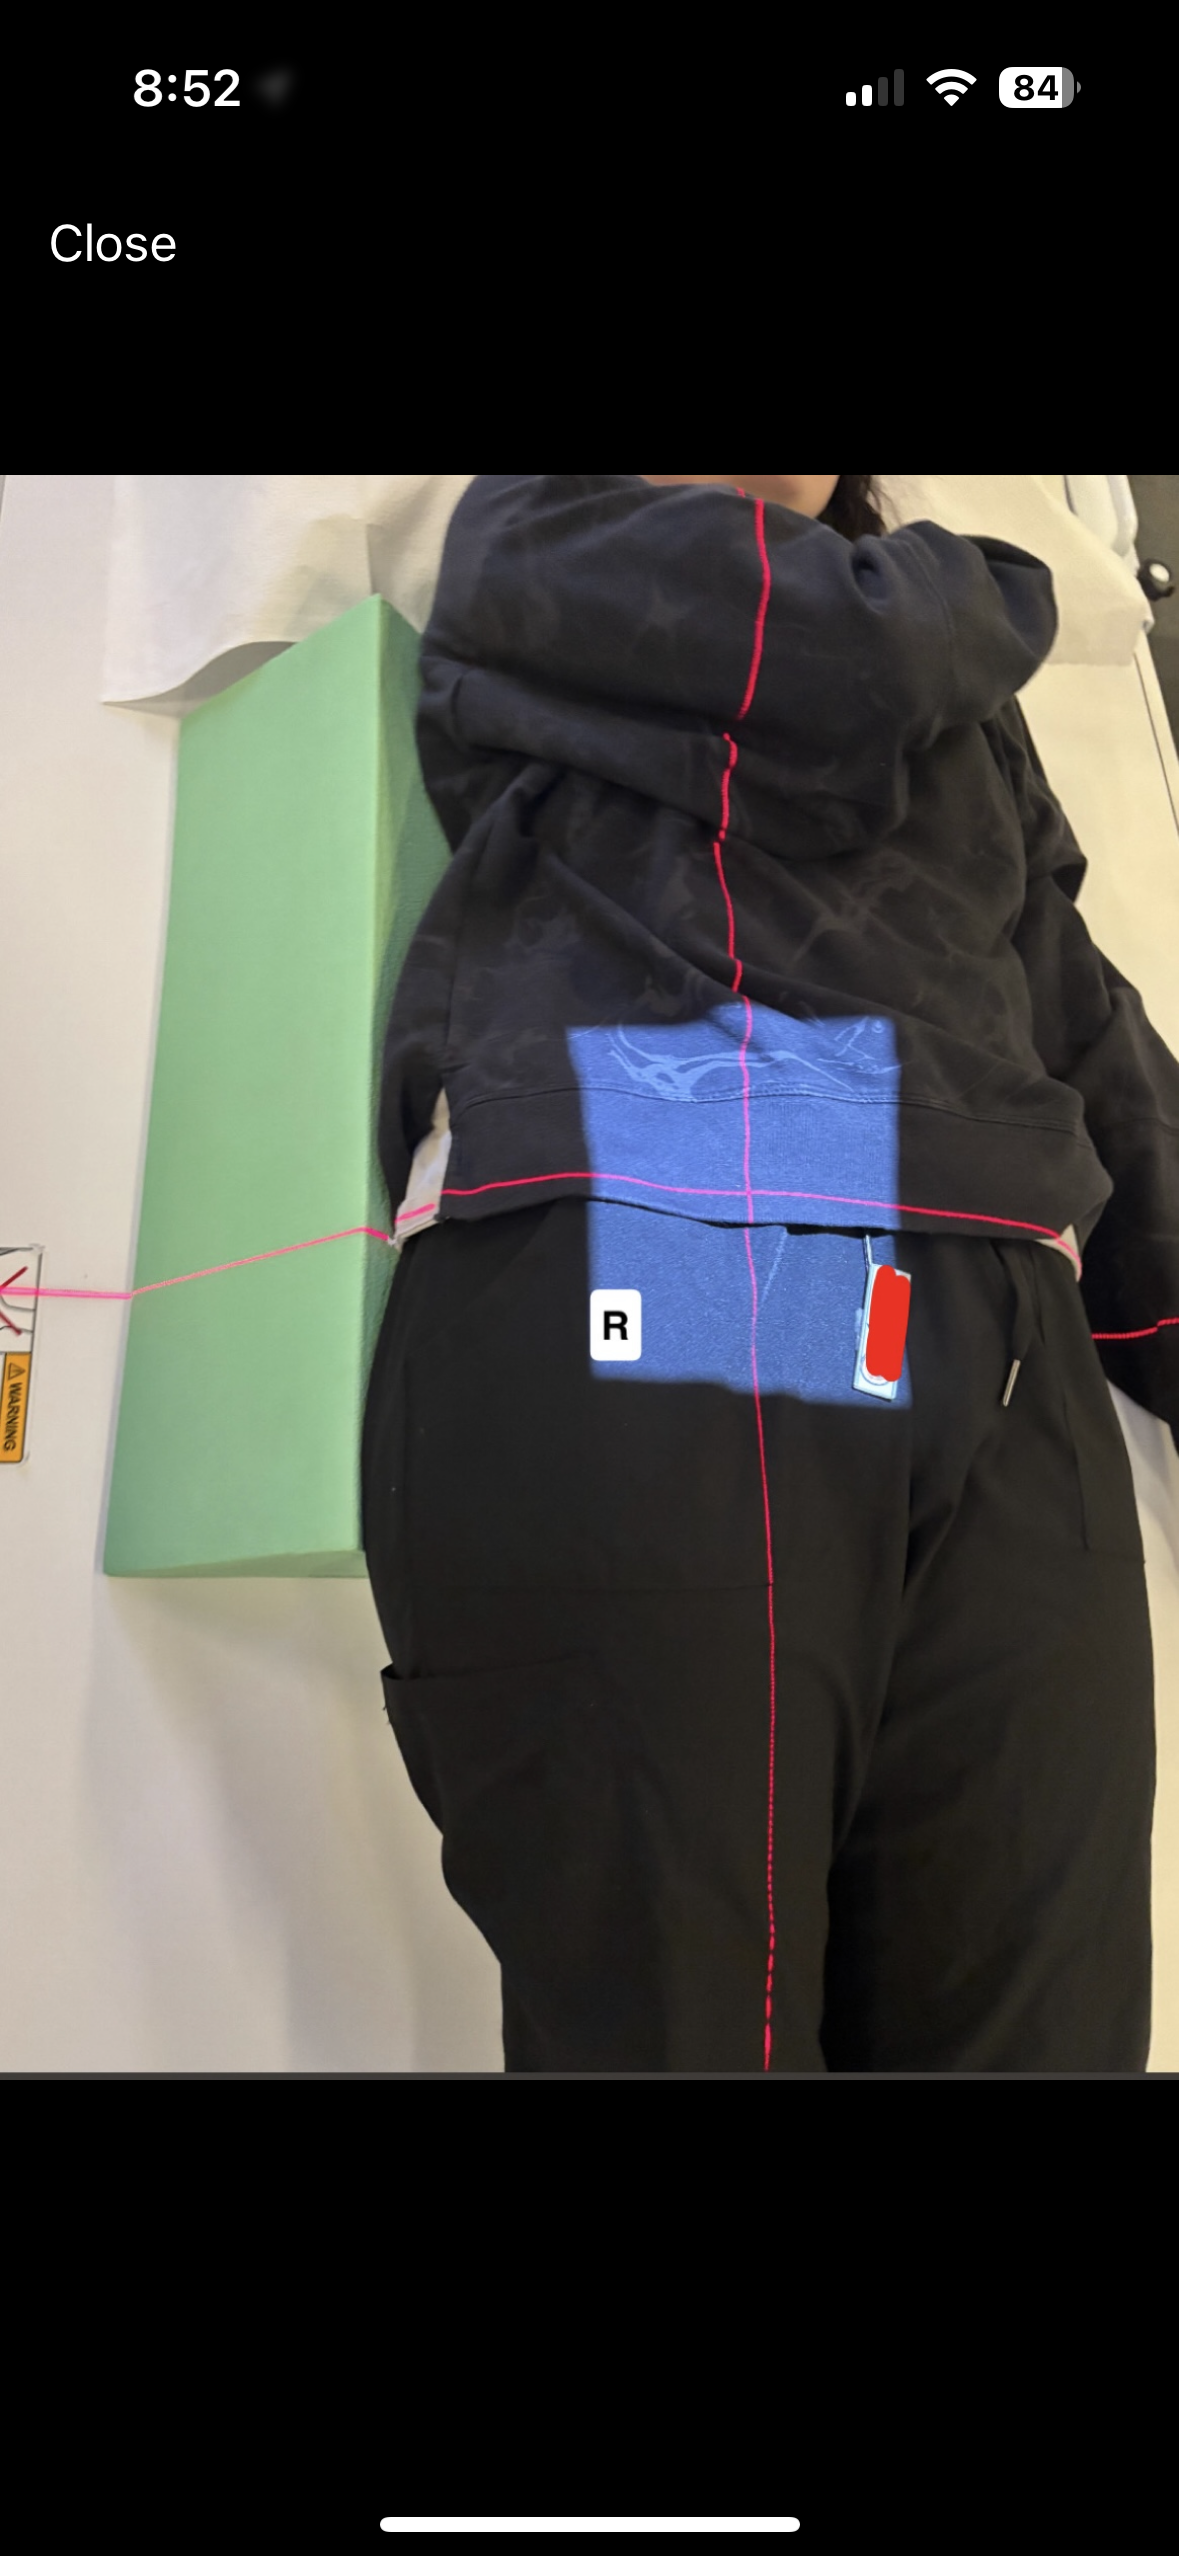
SI joints- R&L Oblique
• Patient Position: 25–30° posterior oblique; affected side elevated
• SID: 40”
• CR Center: 1 inch medial to upside ASIS
• mark upside
• CR Angle: None
• Collimation: 8×10
• Technique: 75–80 kVp, ~32 mAs
• Breathing: Suspend
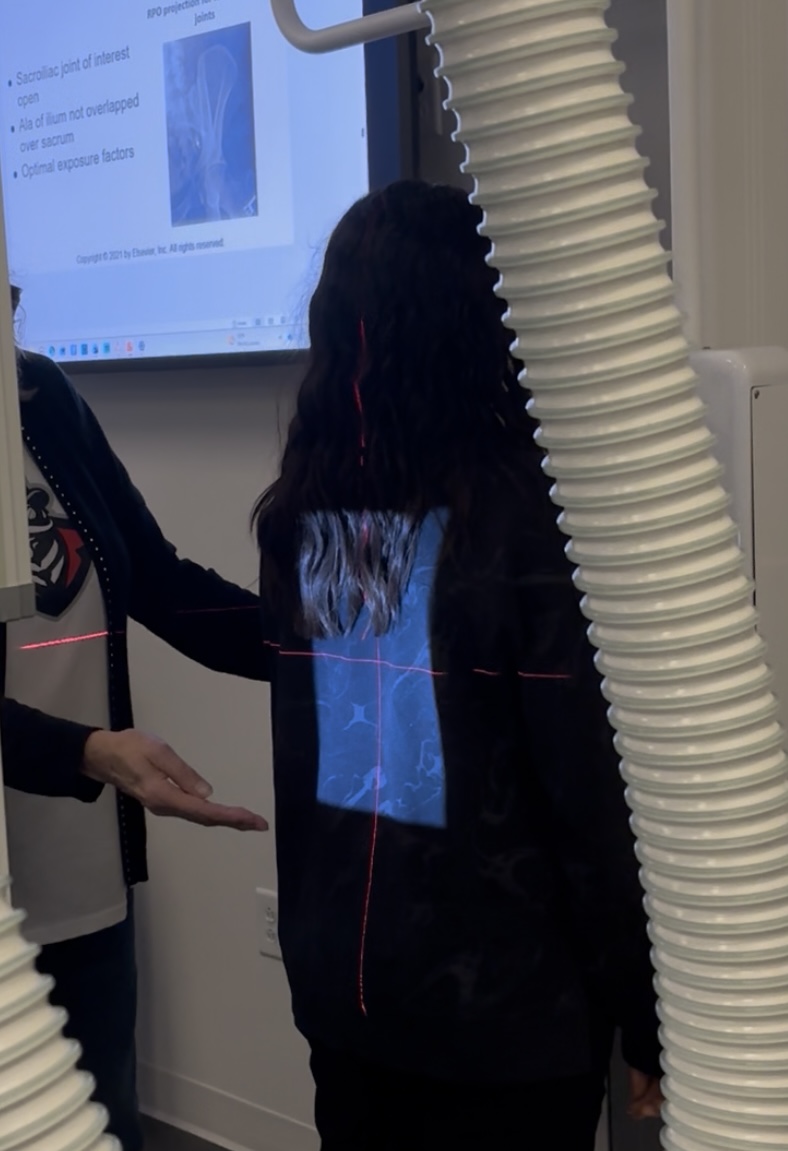
Scoliosis- PA
• Patient Position: Erect, standing straight
• SID: 40
• CR Center: none
• CR Angle: None
• Collimation: 14×17, Include 1 in below crest
• Technique: 75–80 kVp, ~32 mAs
• Breathing: Suspend
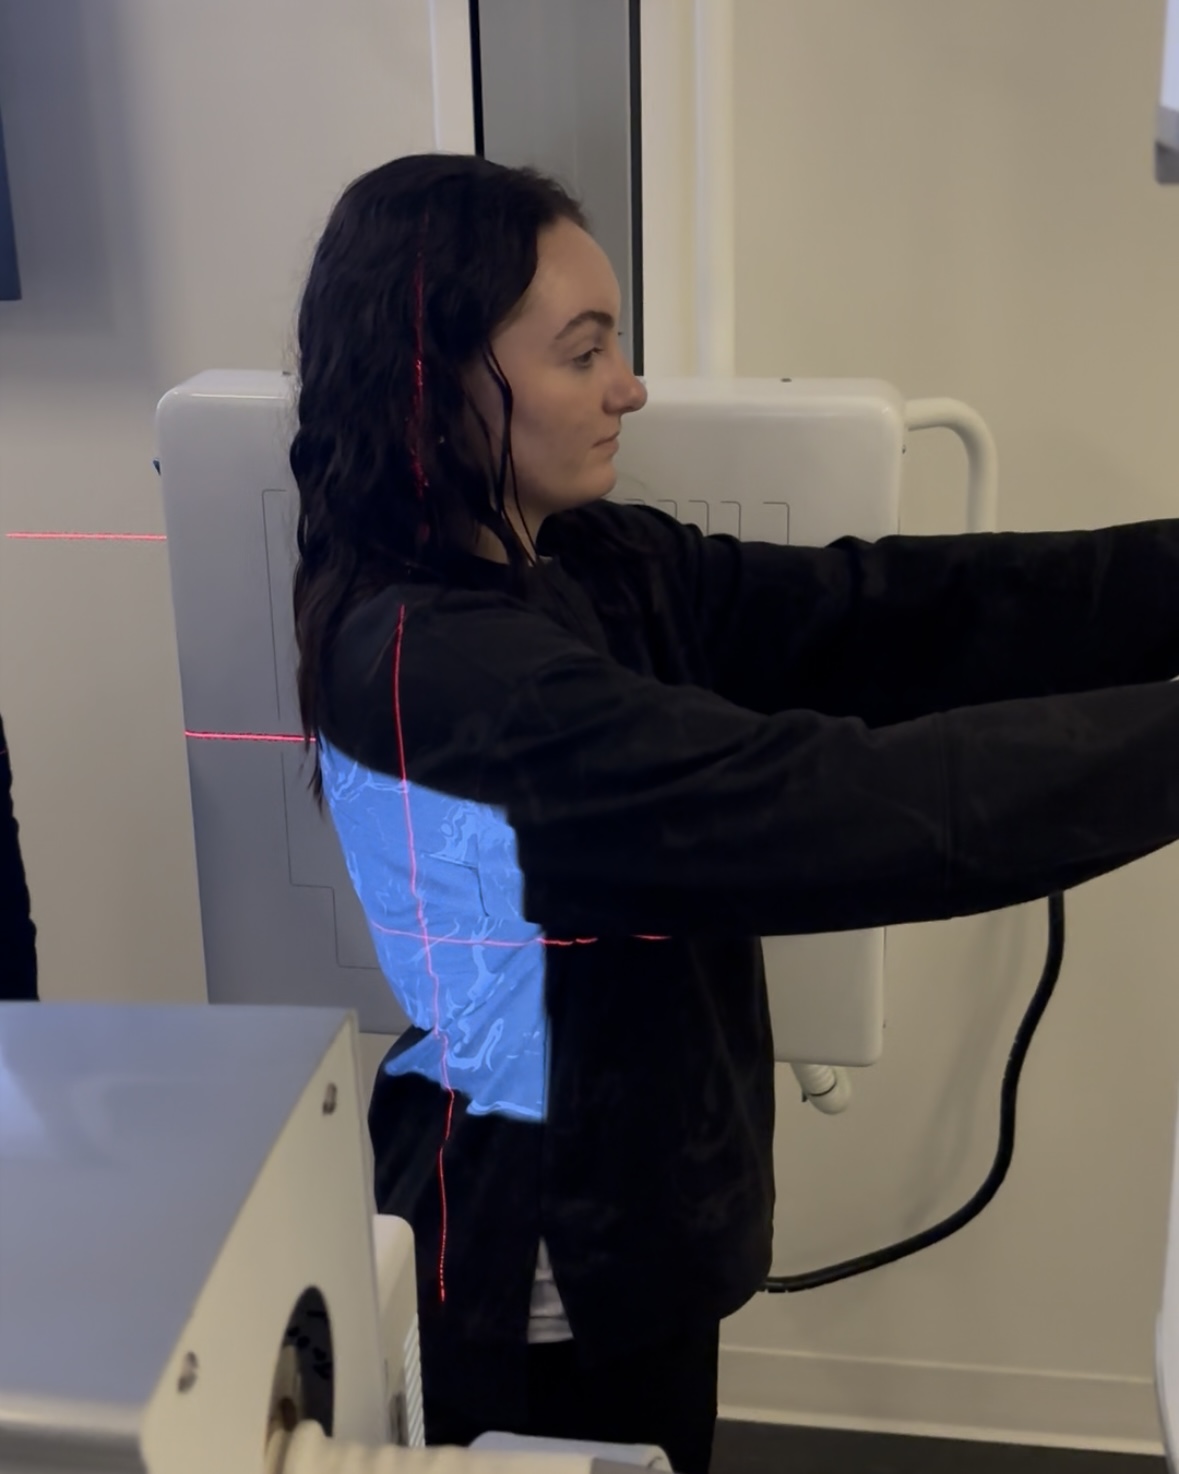
Scoliosis- Lateral
• Patient Position: True lateral; arms raised
• SID: 40
• CR Center: none
• CR Angle: None
• Collimation: 14×17, Include 1in below crest
• Technique: 75–80 kVp, 60–160 mAs
• Breathing: Suspend
Scoliosis- R&L Bending
• Patient Position: Erect or supine; bend maximally left and right (remove shoes)
• SID: 40
• CR Center: none
• CR Angle: None
• Collimation: 14×17, Include 1 inch below crest
• Technique: 75–80 kVp, ~32 mAs
• Breathing: Suspend