Dental porcelain procedures
 Call Kai
 Learn
Learn Practice Test
 Spaced Repetition
 Match
Match Flashcards
 Knowt Play
1/19

Earn XP
Description and Tags
Unit 2.. preparation for the quiz
Name | Mastery | Learn | Test | Matching | Spaced | Call with Kai | Chat |
|---|
No analytics yet
Send a link to your students to track their progress
20 Terms
Pre- build up considerations
Is the metal compatible with your porcelain?/ ( CTE- Coefficient of thermal expansion)
Does your finish substrate meet the criteria for porcelain application? /( not sharp corners, holes.. smooth finish with sharp finish lines )
Are your models you’re working with suitable/( bite, margins on a die, proximal surfaces?
Does your substrate correlate with the dentists prescription?
Instruments for porcelain application
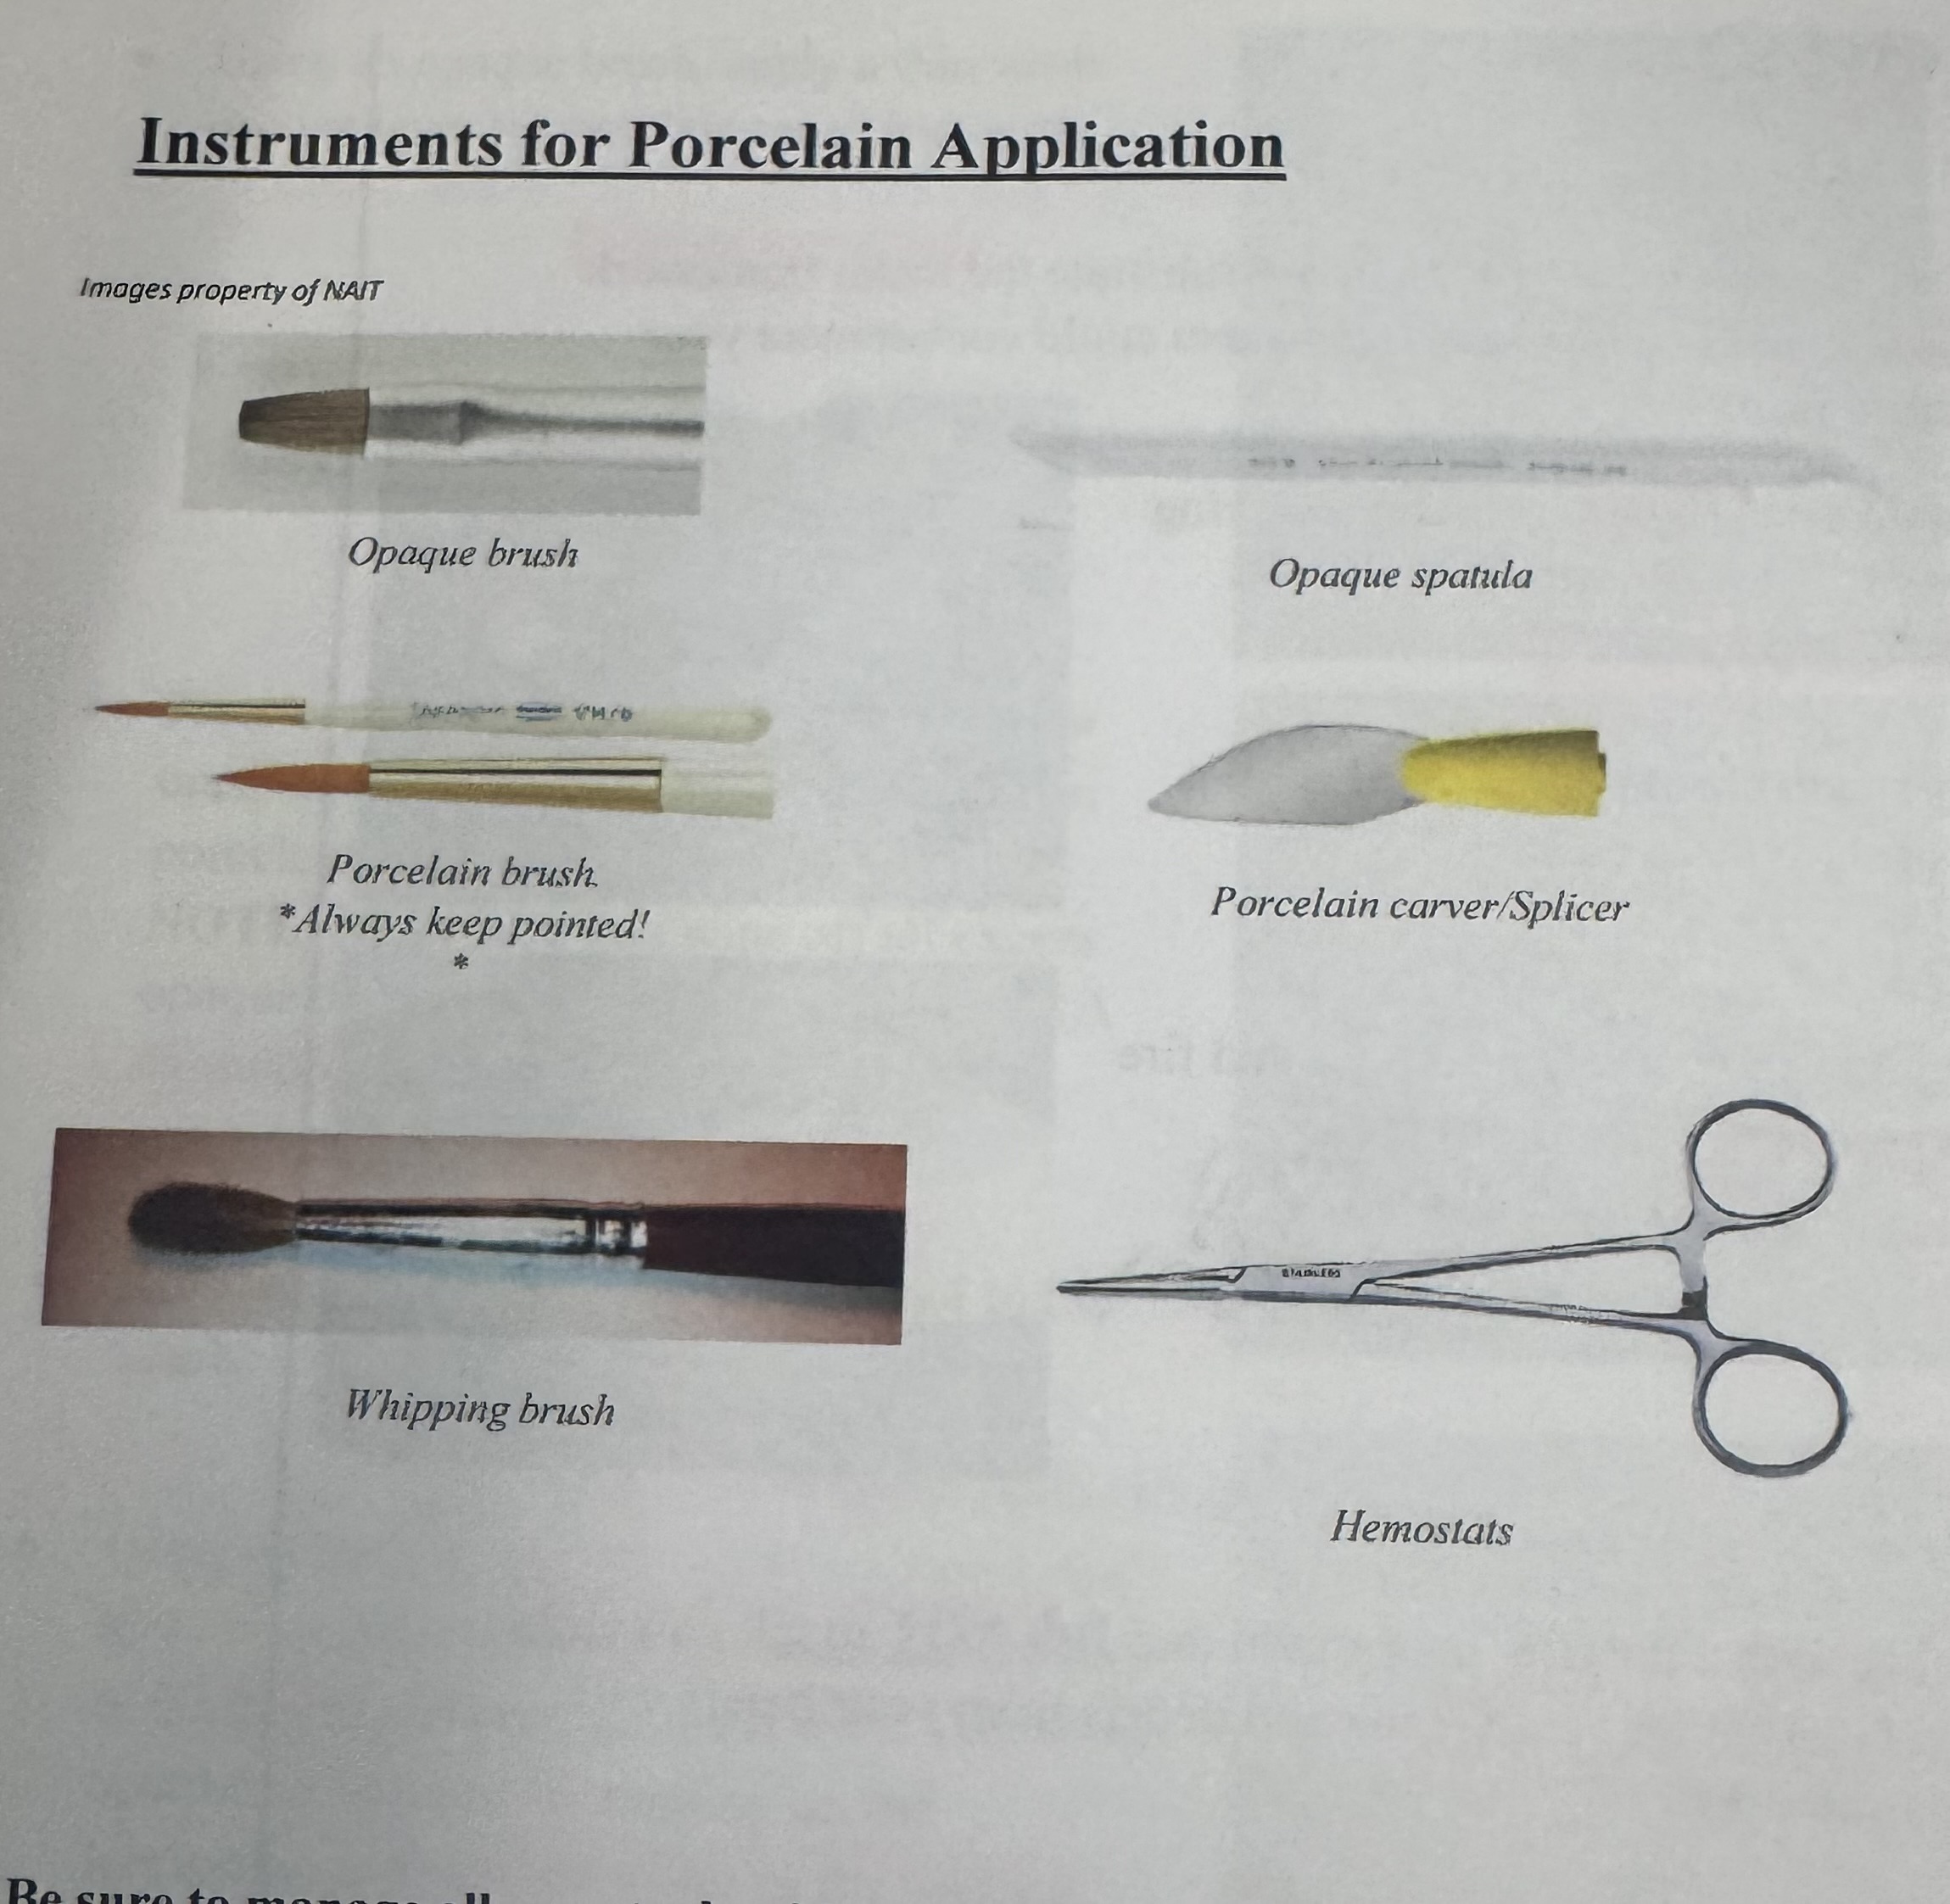
What should we do before applying porcelain to our substrate??
the metal framework must be degassed to expel gasses and oxides that could contaminate your porcelain in future firings
Steps for degassing
Lightly Sandblast(30 psi) porcelain receiving areas with Aluminium Oxide
Steam clean
Place coping into the porcelain furnace
Fire using the degassing( oxidisation) cycle
Remove coping with a holding instrument( do not touch with bare hands
Steps after degassing is done
Using an opaque brush apply a thin wash opaque layer to porcelain receiving areas
Place into oven and fire using wash cycle
Note: make sure you wipe off all excess opaque on non-porcelain receiving areas( diamond but may be used after firing.
When fired, allow the coping to cool for the touch
Shade opaque is applied next
What steps should be done to reduce the cause of cracking in?
Condense and take as much water out of the opaque as you can by tapping on the hemostats to bring the water out to the surface and then holding it underneath the oven. After fire using shade opaque cycle
What should you know before moving onto building up your crown
Remove any opaque on your metal collar and inside of your substrate at a low speed( diamond bur)
No grey from the metal is showing
Shoulder/butt margin
apply separator to die with the margin pen
If the material continually sticks to the die - reseal the die with die hardener and re-apply the separator
Steps once the margin firing cycle is done
Remove from the furnace
When the framework is cool to touch you will see that the margin has crept back.
Then, reapply separator and fill in the space that has been left
Note! You should only have 2 margin firings but a third can be done is necessary
What’s the base dentin used for?
It helps mask out the underlying opaque and is the most influential material when considering your final shade
Should make up approximately 90% of your build up.
During firing powder/liquid porcelain will go through several physical changes from its powdered form
biscuit stage - the restoration will be very porous in form and whitish in colour( at this point, there’s a little shrinkage)
maturity stage - the particles have now formed and the true colour of your crown can be seen( 1st and 2nd firings)
glaze stage - glass-like, light reflecting luster surface
To limit changes in the restoration, there are some steps we must consider
Fire as few times as possible
Always look to decrease the temperature of your firing. Your 1st and 2nd firing should be at the higher end of the temperature range. Your subsequent firings after that should be lower to limit change in your restoration
Anytime your restoration comes out of the furnace, the fit must be checked. WHy?
Loose porcelain particles will sometimes attach to the inside of your restoration and around the marginal area.
How to deal with it?
Gently sandblast the inside if necessary
Steps to do before applying porcelain
seal with die hardener/ working and opposing model
apply separator to these areas/will stop the porcelain from drying out too quickly and from sticking to the model
mix the porcelain with Modeling/Carving liquid to a wet sand-like consistency
build up your crown to full contour using base dentin
remove the dentin from the incisal third
be sure it covers all opaque surfaces
at least 0.3 mm of base dentin covering the opaque
Rules to remember
!!Refrain from ’brushing’ your porcelain into place. Always push, pull, and prod into place
!!Keep your brush pointed and do not leave it upside down in a dish
!! Always brush the porcelain down towards the margin
Enamel build up
Allow the furnace to cool down to around 400-450 before taking out your restoration
you can resurface any area of porcelain you add onto, but it’s not imperative / you may minimize tearing, and it aids with the overall bonding
fill in proximal contacts and any area where the porcelain has crept back with base dentin
reestablish full contour shape using enamel porcelain/ overbuild by around 15-20%
focus on one surface at a time
Fit and contour
check fit
using clean diamond burs, start to adjust the contacts one at a time/ red butterfly tape is useful to help achieve this
once your restoration is 100% seated, you can start to adjust to the contour and shape required
occlusion is clear in centric and excursive motions
The restoration must be fit to the solid model before we glaze. T or F
True!
No glaze powders or stains are required - the gloss is achieved purely by the temperature of the furnace.
Any minor corrections can be done at this point ( natural glaze), such as open contacts with corrective porcelain. T or F
T, a rubber wheel can be used to adjust after firing