ELISA Test Steps
step 1

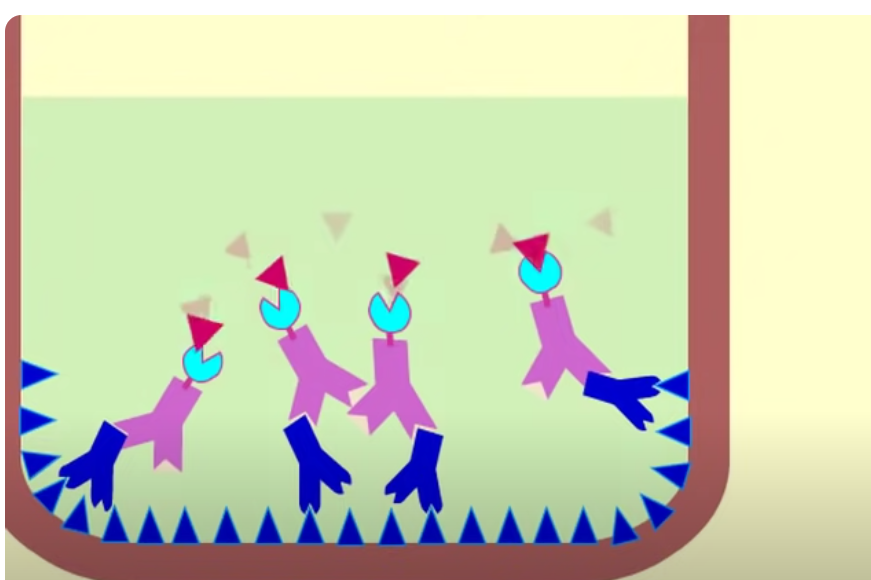
Antigens are absorbed to the bottom of the wells. This forms the capture layer for the ELISA test.
Rinsing:
The wells are rinsed to remove any unbound antigens.
step 2
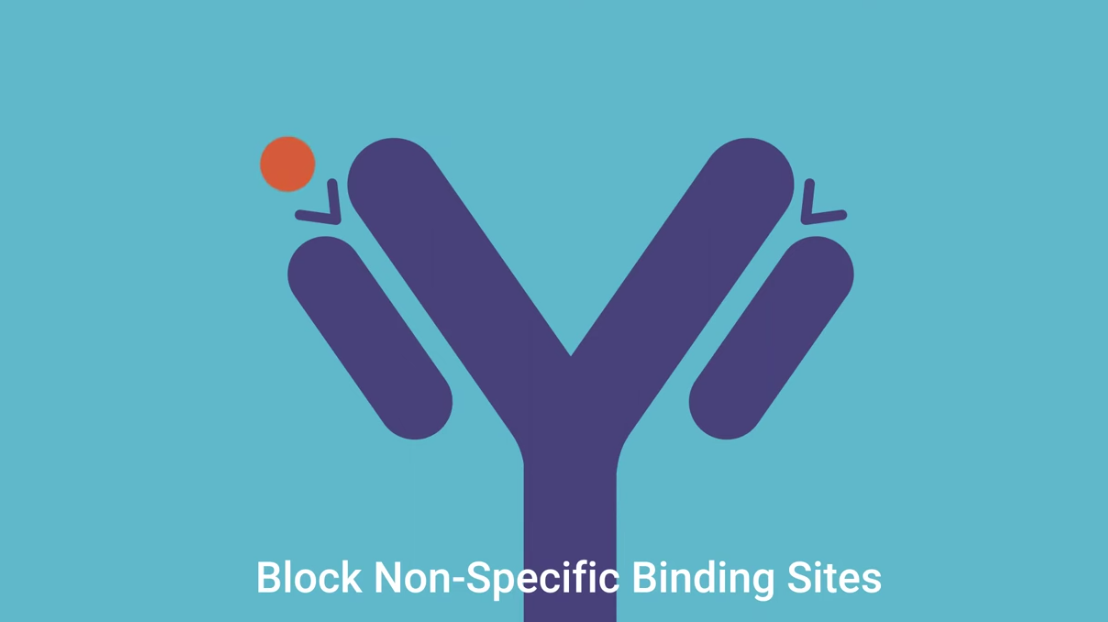
A blocking buffer is added to coat any remaining surface of the wells to prevent non-specific binding. The antigens remain bound to the bottom of the wells.
Rinsing:
The wells are rinsed again to remove excess blocking solution.
1/7
There's no tags or description
Looks like no tags are added yet.
Name | Mastery | Learn | Test | Matching | Spaced |
|---|
No study sessions yet.
8 Terms
step 1
Antigens are absorbed to the bottom of the wells. This forms the capture layer for the ELISA test.
Rinsing:
The wells are rinsed to remove any unbound antigens.
step 2
A blocking buffer is added to coat any remaining surface of the wells to prevent non-specific binding. The antigens remain bound to the bottom of the wells.
Rinsing:
The wells are rinsed again to remove excess blocking solution.
step 3
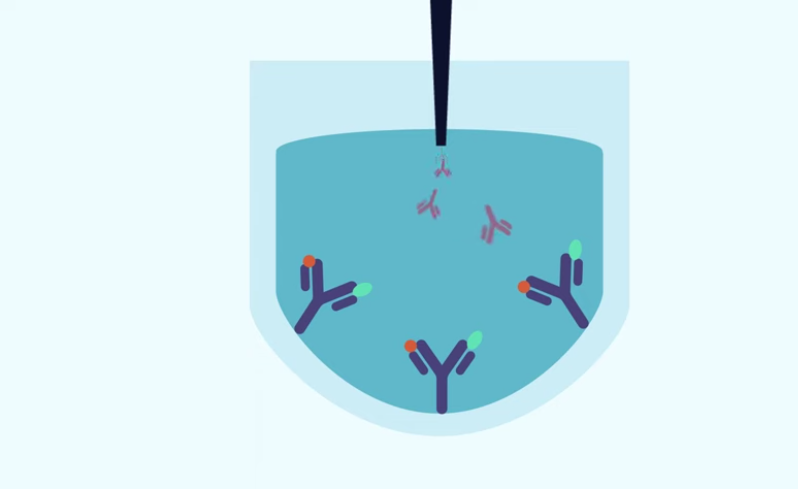
A sample, containing primary antibodies to the antigen, is added. If the target antigen is present, the primary antibodies bind to the antigens.
Rinsing:
The wells are rinsed to wash away unbound primary antibodies.
step 4
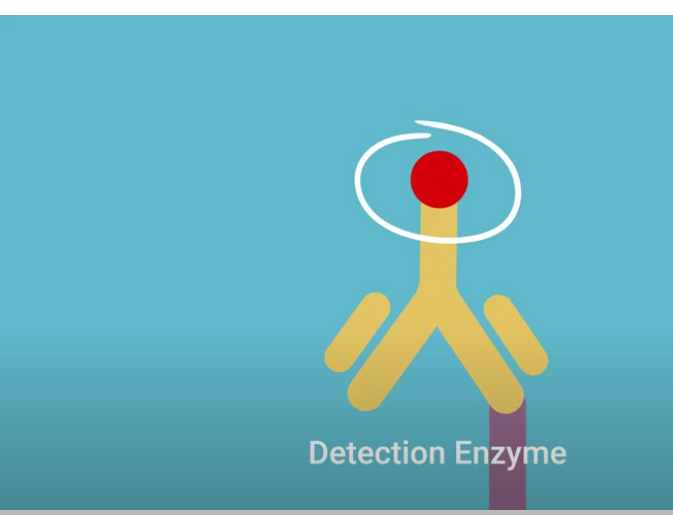
An enzyme-conjugated secondary antibody is added. This antibody binds to the primary antibody.
Rinsing:
The wells are rinsed to remove any unbound secondary antibodies.

step 5
A substrate solution is added. At this stage, there is no color change because the substrate has not yet interacted with the enzyme.
Rinsing:
No rinsing at this step; the substrate remains in the well to interact with the enzyme.
step 6
The substrate reacts with the enzyme on the secondary antibody, forming an enzyme-substrate complex. This reaction produces a color change, usually yellow or blue, depending on the substrate used (substrate changes color).
Rinsing:
No rinsing; the color change is the final readout.
in what order should you add the reagents to perform an Eliza test?
antigen sample, primary antibody, enzyme linked secondary antibody, substrate