Module 4 - Use of Dental mouth mirror
1/24
There's no tags or description
Looks like no tags are added yet.
Name | Mastery | Learn | Test | Matching | Spaced | Call with Kai |
|---|
No analytics yet
Send a link to your students to track their progress
25 Terms
Why use dental mirror?
View tooth surfaces that can’t be seen with direct vision
Lingual surfaces
Types of mirror surfaces
Front surfaces
Reflecting surface is on front surface of glass
Clear mirror image quality w/o distortion
Reflecting surface is easily scratched
Concave (spoon)
Reflecting surface is on front surface of mirror lens
Magnified image
Distorted due to magnification
Plane (Flat surface)
Reflecting surface is on back surface of mirror lens
Produce double image (ghost image)
Double image = distracting
Stabilization of dental mirror
Fulcrum
Stabilizes clinician’s hand during instrumentation
An anchor point for your hands
Left hand clinicians (Stabilizing mirror)
Use mirror in nondominant hand (right)
Ring and index fingers — stabilizes mirror in mouth
Rest fingers on patient’s ch8n or cheeks or tooth surface to stabilize mirror
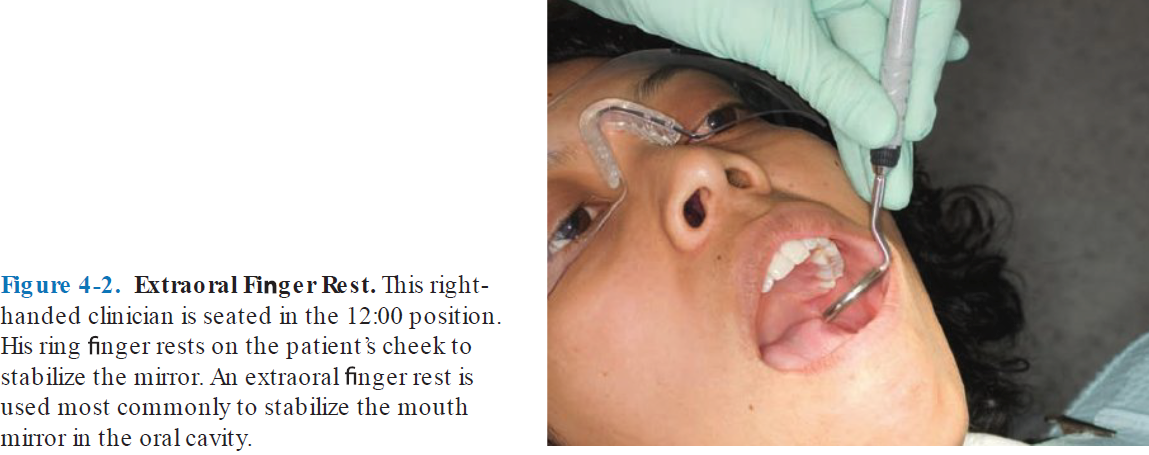
Extraoral fulcrum
Stabilization point outside the patient’s mouth (chin/ cheeks)
Intraoral fulcrum
Stabilizing point inside the patient’s mouth (tooth surface)
Optional w/ dental mirror, but recommended
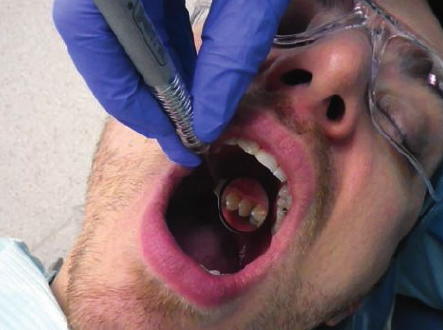
Functions of dental mirror
Indirect vision
Retraction
Indirect illumination
Transillumination
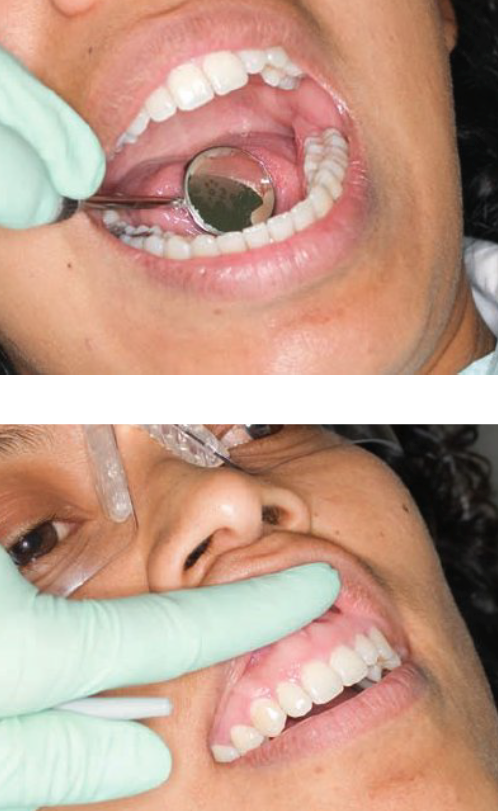
Indirect vision
Cannot be seen directly
Mirror is used to view lingual surfaces, working end is visible in mirror
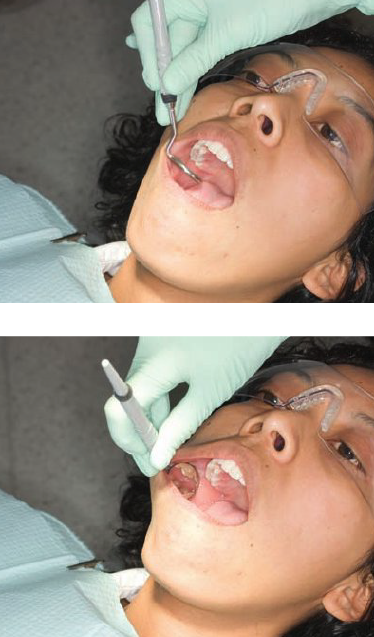
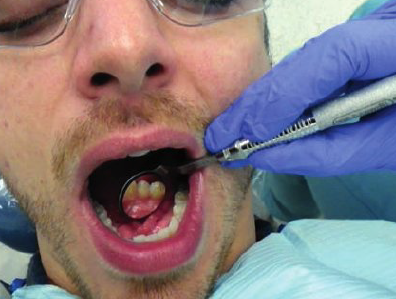
Retraction
Using mirror head to hold soft tissue out of the way
Retraction of tongue
Using mirror head to hold patient’s cheek, lip, tongue to view tooth surfaces
Retraction of lip
Index finger of non dominant hand retract lip away from facial aspect of anterior teeth
Finger is more comfortable than mirror
Mirror may be held in palm of hand when retracting with finger — avoids putting down mirror
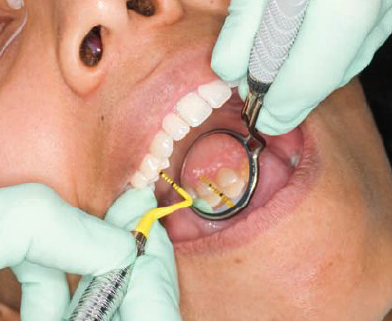
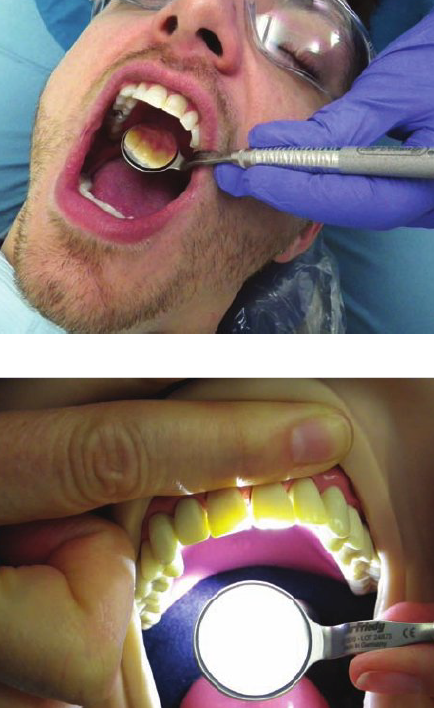
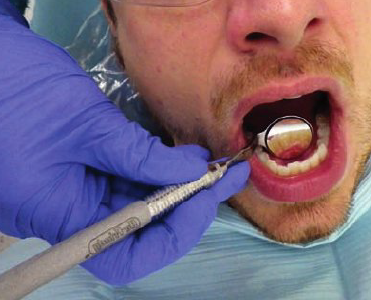
Indirect illumination
Use of mirror surface to reflect light onto tooth surface in dark areas of the mouth
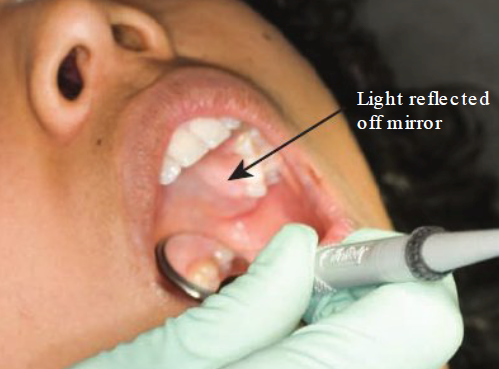
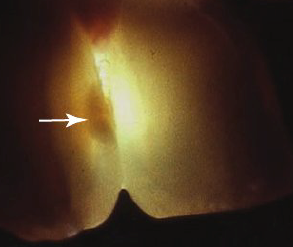
Transillumination
Directing light off mirror surface and through anterior teeth
Trans = through
Illumination = light up
As light is reflected off mirror surface, light beams pass back through the teeth
Light path through teeth to detect abnormalities (ex: cracks, cavities, dark shadows)
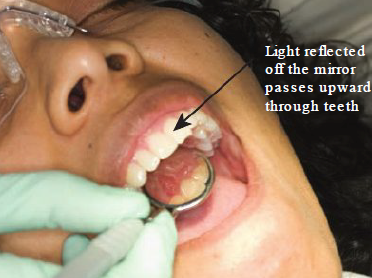
How to perform transillumination
Light: Over oral cavity (perpendicular) to anterior teeth — Patient chin down position (over mouth area)
Position: 12 o’clock
Hold mirror behind central incisors so reflection is parallel to lingual surface
View: Anterior teeth will appear to glow
Look directly at the teeth. NOT the mirror’s reflecting surface
Dangerous myth of direct vision
Visual dominance is ergonomic risk — Student rely on visuals
Touch — greatest asset during periodontal instrumentation
Vision — greatest hinderance to effective instrumentation
Makes clinicians assume awkward position
Calculus deposits — Detected by touch
Removal of plaque biofilm, calculus deposits under gingival margins in periodontal pockets
Clinicians make many strokes w/ instrument to remove calculus — unnecessary strokes = MSD
Able to “feel” calculus = fewer strokes
Skilled clinicians = Apply force w/ grasp as they remove calculus
During calculus detection = relax and hold handle = rest period for muscles and joints
Using direct vision
Using direct vision and not looking into mirror = unnatural posture
Static posture of trapezius muscles
Mastery of indirect vision is key
Those who use mouth mirror for indirect visions have fewer headaches and reduced neck/shoulder pain
Learn mirror use first on maxillary arch
Those who started on mandibular arch cheated and used direct vision
Poor indirect vision skills = attention focused on positioning the periodontal instrument = awkward body positions
Mastering indirect vision = better neutral positons
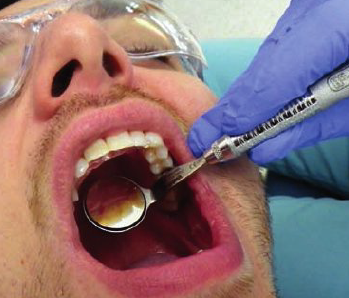
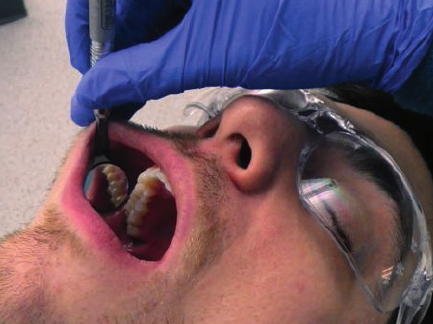
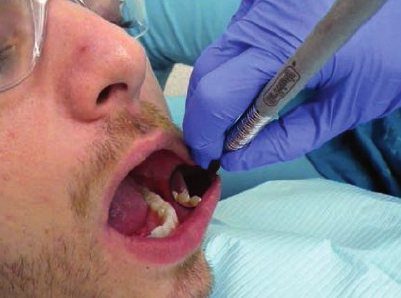
Mirror use for retraction
Step 1
1 to 2 o’clock for facial aspect of mandibular right posteriors
Hold mirror in non dominant hand
Put mirror head between dental arches w/ reflecting surface parallel to maxillary occlusal surfaces (Frisbee—style)
Slide mirror back until its in line w/ second molar
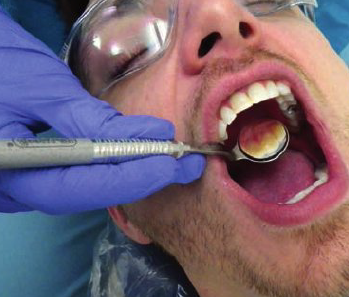
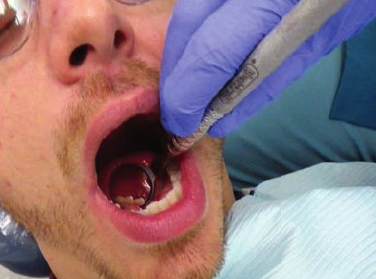
Step 2
Turn mirror handle until head is parallel to buccal mucosa
Back of the head is against inside of cheeks
Establish extraoral finger rest on side of patient’s cheeks
Use arm muscles for retraction
Don’t use finger muscles — difficult and tiring way to retract cheeks
Avoid hitting mirror against patient’s teeth or resting outer rim of mirror head against patient’s gingival tissues
Use mirror head, not shank for retraction (don’t retract at corner of mouth)
Maxillary anteriors, lingual aspect, surfaces towards
3 to 4 o’ clock position
Hold mirror in right hand, rest ring and pinkie on patient’s left cheek or premolar teeth
Swivel mirror head so lingual surfaces reflect towards you in the mirror
Maxillary anteriors, lingual aspect, surfaces Away
11 to 1 o’ clock position
Hold mirror in right hand, rest ring and pinkie on patient’s right cheek or incisal edges of maxillary anterior tooth
Mirror head is not held near maxillary anteriors, positioned closer to tongue
Swivel mirror head so surfaces away from you are seen
Maxillary left posterior sextant, facial aspect
3 o’ clock position
Place the mirror head between dental arches, rest ring and pinkie on left side of patient’s face. Retract the buccal mucosa with mirror.
Use mirror for indirect vision, to view distal suerfaces.
Swivel mirror head until you can easily view distal surfaces in reflection.
Maxillary right posterior sextant, lingual aspect
3 o’ clock position
Rest ring and pinkie on left sid eof patient’s mouth, near corner
Position mirror head away from teeth, closer to tongue
Use mirror for indirect vision, to view distal surfaces. Swivel mirror head until you can easily view the distal surfaces in reflection.
Maxillary right posterior sextant, facial aspect
Sit 1 to 2 o’ clock position
Slide mirror head between dental arches
Rest ring and pinkie on right side of face
Use mirror to retract buccal mucosa away
Swivel mirror head until you can easily view the distal surfaces
Swivel mirror head until you can view facial and mesial surfaces in the reflecting surfaces
Maxillary left posterior sextant, lingual aspect
1 to 2 o’clock position
Rest ring and pinkine on right side of face, near corner of mouth
Position mirror head near the tongue
Swivel mirror head to view distal surfaces in mirror
Swivel mirror head to view lingual and mesial surfaces
Mandibular anterior, lingual aspect, surfaces towards
3 to 4 o’ clock position
Rest ring and pinkie on left side fo patient’s face near corner of mouth on premolar teeth
Use mirror head to push tongue away gently to expose lingual surface of anterior teeth in mirror
Mandibular anteriors, lingual aspect, surfaces away
11 to 1 o’ clock positions
Rest ring and pinkie on right side of patient’s face near corner or one of the premolars
Use mirror head to push tongue back gently so lingual surfaces of teeth is seen in the mirror
Mandibular left posterior sextant, facial aspect
3 o’ clock position
Rest finger on left side of patient’s face
Retract buccal mucosa with mirror. Use mirror for indirect vision to view distal surfaces of the teeth
Mandibular right posterior sextant, lingual aspect
3 o’ clock position
Rest finger on left side of patient’s face
Use mirror to gently move the tongue away from teeth. Use indirect vision to view distal and lingual surfaces.
Avoid pressing down against floor of mouth with mirror head
Mandibular right posterior sextant, facial aspect
1 to 2 o’ clock
Rest finger on right side of patient’s face
Use mirror to retract buccal mucosa down and away from teeth
View distal, facial, and mesial surfaces in the mirror’s reflecting surface
Mandibular left posterior sextant, lingual aspect
1 to 2 o’ clock position
Rest finger on right side of patient’s face
Use mirror to move tongue away from teeth, so lingual surfaces of teeth can be seen. Once in position, view distal, lingual, and mesial surfaces in mirror’s reflecting surfaces
How to stop fogging reflecting surface
warm reflecting surface against patient’s buccal mucosa
Ask patient to breathe through nose
Wipe reflecting surface with commercial defogging solution
Wipe reflecting surface with gauze square moistened mouthwash