thoracic/ lumbar radio
 Call Kai
 Learn
 Practice Test
 Spaced Repetition
 Match
 Flashcards
 Knowt Play
1/8

There's no tags or description
Looks like no tags are added yet.
9 Terms
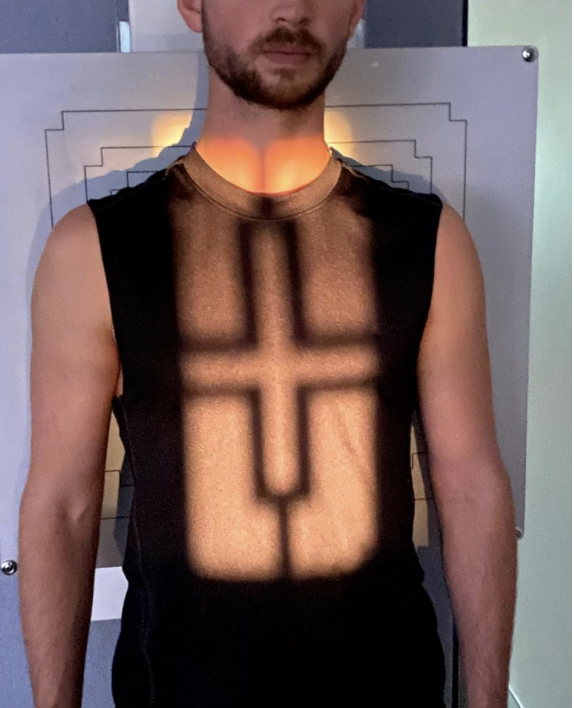
Thoracic AP
kVp/mAs: Small 70/20; Medium 75/32; Large 75/40 | CR: T6–T7 | Position: Standing, back against bucky, feet comfortably apart | Breathing: On inspiration or prescribed 1–3 second breathing technique | Collimation: M-L: midclavicular lines bilaterally; S-I: full thoracic spine T1–T12 | Important: Widen field if scoliosis requires it.
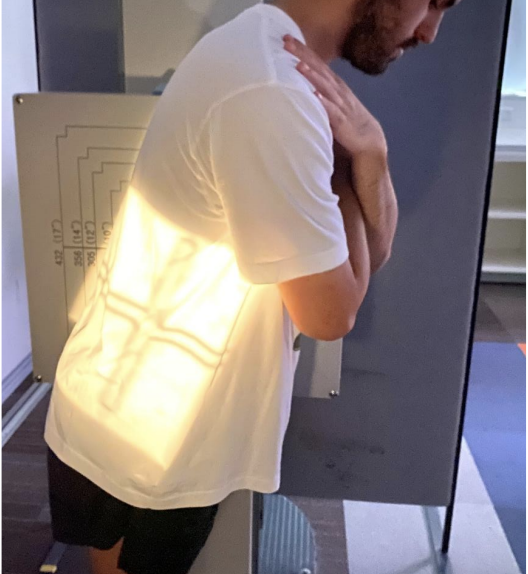
Thoracic Lateral
kVp/mAs: Small 70/32; Medium 75/40; Large 80/56 | CR: Posterior third of thorax at T6–T7 | Position: Standing true lateral, convex side toward bucky if scoliosis; arms crossed in front of chest or supported forward | Breathing: Suspended inspiration or slow shallow breathing over 2–3 seconds | Collimation: A-P: approximately 15 cm wide including spinous processes while avoiding breast; S-I: entire thoracic spine T1–T12 | Important: If using slow breathing, exposure time differs from chart; verify locally.

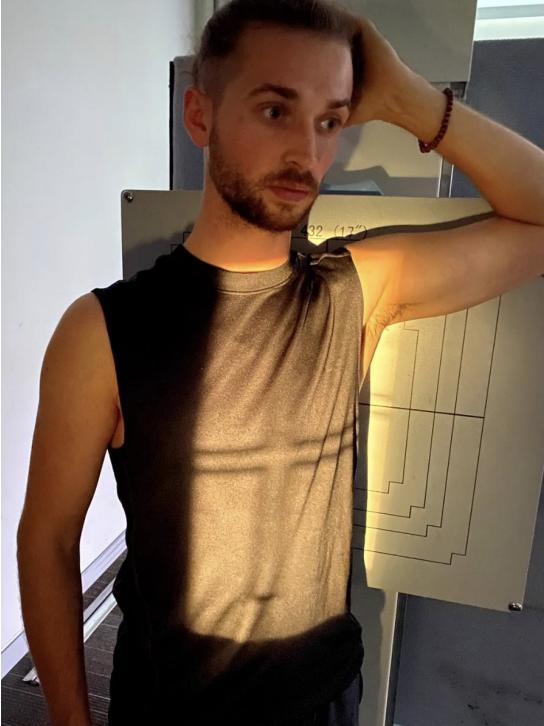
Rib AP Obliques
kVp/mAs: EST. 75/32 (NOT charted) | CR: Midclavicular line of side rotated toward, at T6–T7 | Position: Standing, back toward bucky; rotate 45° toward bucky; arm on imaged side above head | Breathing: Upper ribs suspended inspiration; lower ribs suspended expiration | Collimation: M-L: spine to lateral rib soft tissues; S-I: upper ribs from above shoulder or lower ribs to 2.5 cm below lowest rib | Important: Distinct upper and lower rib fields.
Lumbopelvic AP
kVp/mAs: Small 75/40; Medium 80/40; Large 85/60 | CR: Midline at ASIS level | Position: Standing AP against bucky; hips internally rotated 15–20°; PA alternative reduces anterior organ exposure | Breathing: Suspended expiration | Collimation: M-L: complete lumbar/pelvic spine width; S-I: T12 to ischial tuberosities | Important: PA alternative reduces anterior organ exposure.

Lumbopelvic Lateral
kVp/mAs: Small 80/40; Medium 85/40; Large 90/80 | CR: Midpoint between ASIS and PSIS at iliac crest | Position: Upright true lateral, convex side against bucky (otherwise left); arms crossed forward, head and feet facing front | Breathing: Suspended expiration | Collimation: A-P: include lumbar lordosis, spinous processes and sacrum; S-I: T12 to greater trochanter.

Lumbar Obliques
kVp/mAs: EST. 85/40 (NOT charted) | CR: 3 cm lateral to L3 at lower costal margin, away from bucky | Position: PA facing bucky or AP back to bucky, rotate 45°; repeat opposite side in SAME orientation | Breathing: Suspended expiration | Collimation: M-L: lumbar spine width approximately 15 cm; S-I: T12–S1 | Important: Correct RAO/LAO or RPO/LPO markers; both sides same technique.

Lumbar Flexion
kVp/mAs: EST. 85/40 (NOT charted) | CR: Midpoint ASIS–PSIS at L3–L4/iliac crest | Position: Upright true lateral; bend lumbar spine forward, not just hips, as far as comfortable; image promptly | Breathing: Suspended expiration | Collimation: A-P: lumbar spinous processes and sacrum; S-I: T12–S1 | Important: Turn collimator to follow lumbar curve; do not force.
Lumbar Extension
kVp/mAs: EST. 85/40 (NOT charted) | CR: Midpoint ASIS–PSIS at L3–L4/iliac crest | Position: Upright true lateral; extend lumbar spine comfortably; image promptly; hands behind neck if needed | Breathing: Suspended expiration | Collimation: A-P: lumbar spinous processes and sacrum; S-I: T12–S1 | Important: Turn collimator to follow lumbar curve; do not force.

Lumbosacral Lateral (Spot)
kVp/mAs: EST. 85/40 (NOT charted) | CR: Midaxillary line, 3 cm below iliac crest | Position: Upright lateral against bucky | Breathing: Suspended expiration | Collimation: A-P: 3 cm either side of midline; S-I: 3 cm above and below central point.
