OpenCV Module 2: Image Manipulation
Basic Image Manipulations
Imports:
import cv2
import numpy as np
import matplotlib.pyplot as plt
from PIL import Image
from IPython.display import Image
%matplotlib inline
Accessing individual pixels:
Using the previous checkerboard image
#Read image as gray scale
cb_img = cv2.imread("checkerboard_18x18.png", 0)
#Set color map to gray scale for proper rendering
plt.imshow(cb_img, cmap='gray')
print(cb_img)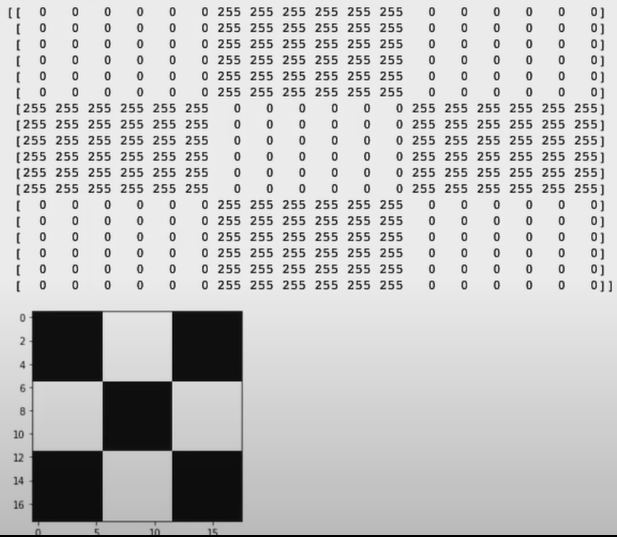 For accessing individual pixels in a numpy matrix, you have to use matrix notation such as matrix[r,c], where r is the row number and c is the column numer. (Note: matrix is 0-indexed)
So, for example, to access the first pixel in the matrix, we need to specify matrix[0,0].
#Print the first pixel of the first black box
print(cb_img[0,0])

#Print the first white pixel to the right of the first black box
print(cb_img[0,6])
» 0
» 255
Modifying Image Pixels:
By using the matrix mentioned above, we can modify the values of each pixel
cb_img_copy = cb_img.copy() #Making a copy to preserve original image
cb_img_copy[2,2] = 200
cb_img_copy[2,3] = 200
cb_img_copy[3,2] = 200
cb_img_copy[3,3] = 200

#Instead of manually changing each pixel in an area like the method above,
#We can slice instead
#eg: cb_img_copy[2:3, 2:3] = 200 >>>>>> Rows 2→3 and Columns 2→3

plt.imshow(cb_img_copy, cmap='gray')
print(cb_img_copy)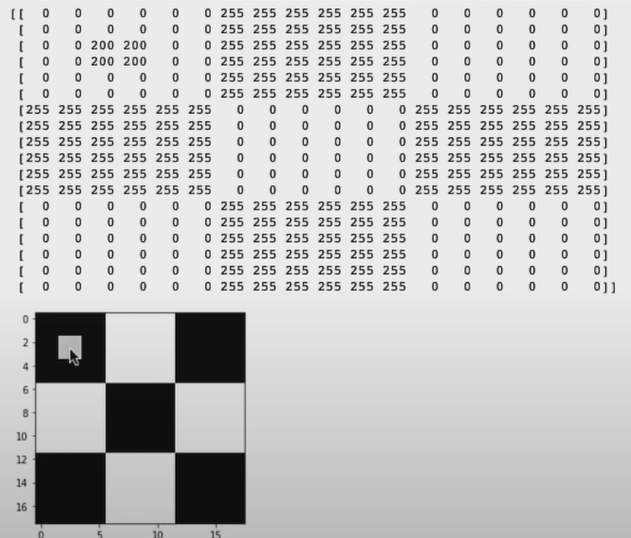
Cropping images:
img_NZ_bgr = cv2.imread("New_Zealand_Boat.jpg", cv2.IMREAD_COLOR)
img_NZ_rgb = img_NZ_bgr[:,:,::-1]
plt.imshow(img_NZ_rgb)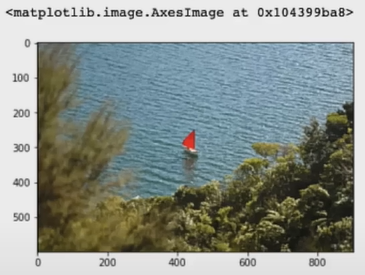 Cropping out the region from rows 200:400 and columns 300:600
cropped_region = img_NZ_rgb[200:400, 300:600]
plt.imshow(cropped_region)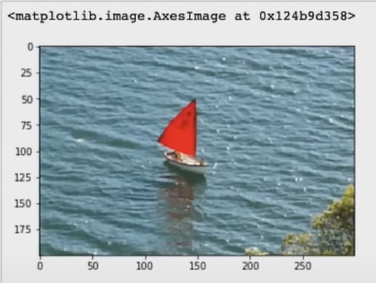
Resizing Images:
Function Syntax:
dst = cv2.resize( src, dsize[, dst[, fx[, fy[, interpolation]]]] )
The function has 2 required arguments:
src: input image
dsize: output image size
The optional arguements that are often used are:
fx: Scale factor along the horizontal axis
fy: Scale factor along the vertical axis
Method 1: Specifying Scaling Factor using fx and fy
resized_cropped_region_2x = cv2.resize(cropped_region, None, fx=2, fy=2)
plt.imshow(resized_cropped_region_2x)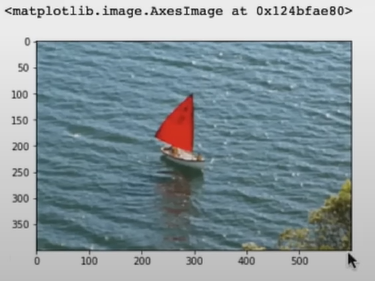
Method 2: Specifying Exact Size of the Output Image
desired_width = 100
desired_height = 200
dim = (desired_width, desired_height)

#Resize background image to same size as logo image
resized_cropped_region =  cv2.resize(cropped_region, sdize = dim, interpolation=cv2.INTER_AREA)
plt.imshow(resized_cropped_region)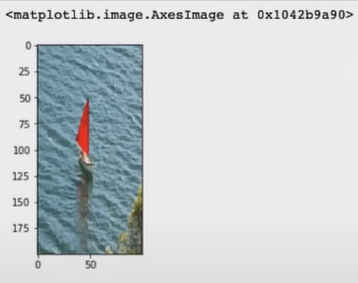
Resizing while maintaining aspect ration
#Method 2: Using "dsize"
desired_width = 100
aspect ration =  desired_width / cropped_region.shape[1]
desired_height = int(cropped_region.shape[0] * aspect_ratio)
dim = (desired_width, desired_height)

#Resize image
resized_cropped_region = cv2.resize(cropped_region, dsize=dim, interpolation=cv2.INTER_AREA)
plt.imshow(resized_cropped_region)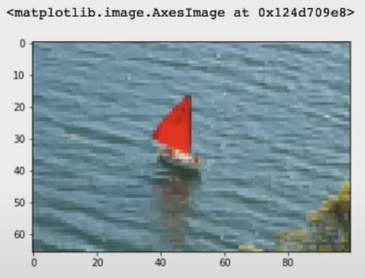
Flipping Images:
dst = cv2.flip( src, flipCode)
This function has 2 required arguments:
src: input image
flipCode: a flag to specify how to flip the array
0 → flipping around the x axis
1 → flipping around the y axis
-1 → both x and y axes
img_NZ_rgb_flipped_horz = cv2.flip(img_NZ_rgb, 1)
img_NZ_rgb_flipped_vert = cv2.flip(img_NZ_rgb, 0)
img_NZ_rgb_flipped_both = cv2.flip(img_NZ_rgb, -1)

#Show the images
plt.figure(figsize=[18, 5])
plt.subplot(141);plt.imshow(img_NZ_rgb_flipped_horz);plt.title("Horizontal Flip");
plt.subplot(142);plt.imshow(img_NZ_rgb_flipped_vert);plt.title("Vertical Flip");
plt.subplot(143);plt.imshow(img_NZ_rgb_flipped_both);plt.title("Both Flip");
plt.subplot(144);plt.imshow(img_NZ_rgb);plt.title("Original");
