OpenCV Module 10: HDR Imaging
High Dynamic Range (HDR) Imaging

Step 1: Capture Multiple Exposures

import cv2
import numpy as np
import matplotlib.pyplot as plt

def readImagesAndTimes():
	#List of file names
	filenames = ["img_0.033.jpg", "img_0.25.jpg", "img_2.5.jpg", "img_15.jpg"]

	#List of exposure times
	times = np.array([ 1/30.0, 0.35, 2.5, 15.0 ], dtype=np.float32)

	#Read images
	images = []
	for filename in filenames:
		im = cv2.imread(filename)
		im = cv2.cvtColor(im, cv2.COLOR_BGR2RGB)
		images.append(im)

	return images, times
Step 2: Align Images
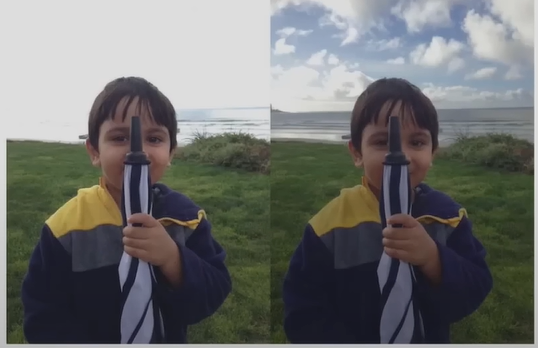
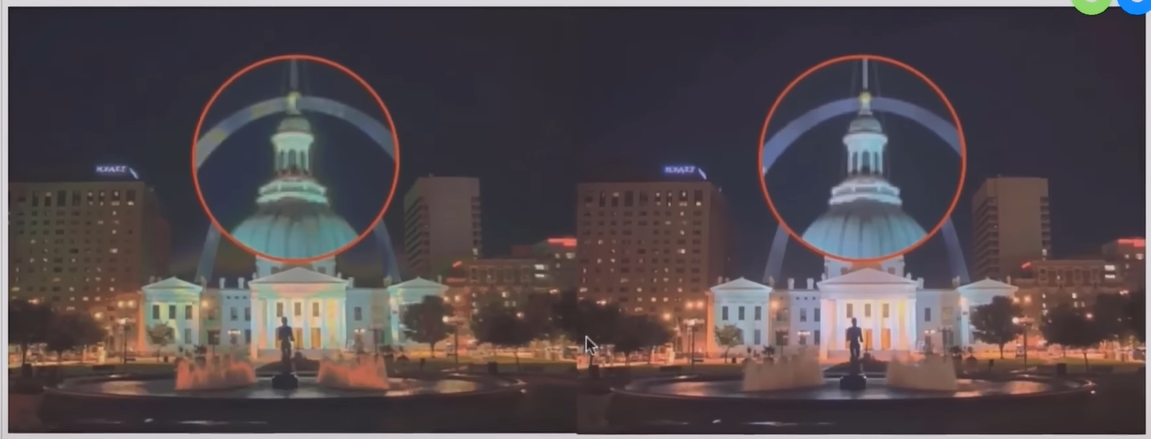
 » Some ghost artifacts are introduced in the process and must be aligned
#Read images and exposure times
images, times = readImagesAndTimes()

#Align Images
alignMTB = cv2.createAlignMTB()
alignMTB.process(images, images)
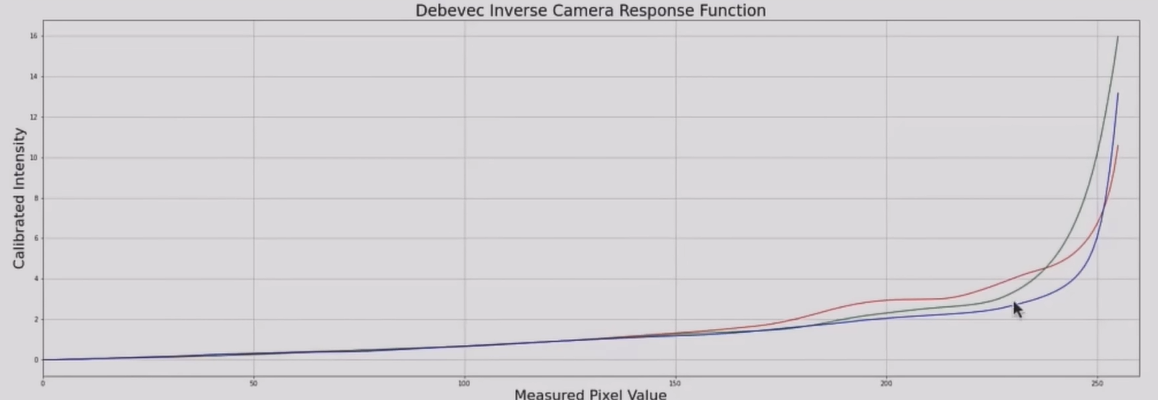
Step 3: Estimate Camera Response Function
#Find Camera Response Function (CRF)
calibrateDebevec = cv2.createCalibrateDebevec()
responseDebevec = calibrateDebevec.process(images, times)

#Plot CRF
x = np.arange(256, dtype=np.uint8)
y = np.squeeze(responseDebevec)

ax = plt.figure(figsize=(30,10))
plt.title("Debevec Inverse Camera Response Function", fontsize=24)
plt.xlabel("Measured Pixel Value", fontsize=22)
plt.ylabel("Calibrated Intensity", fontsize=22)
plt.xlim([0,260])
plt.grid()
plt.plot(xm y[:,0], 'r', x, y[:,1], 'g', x, y[:,2], 'b');
Step 4: Merge Exposure into an HDR Image
#Merge images into an HDR linear image
mergeDebevec = cv2.createMergeDebevec()
hdrDebevec = mergeDebevec.process(images, times, responseDebevec)
Step 5: Tonemapping
» Using Durand Tonemapping algorithm
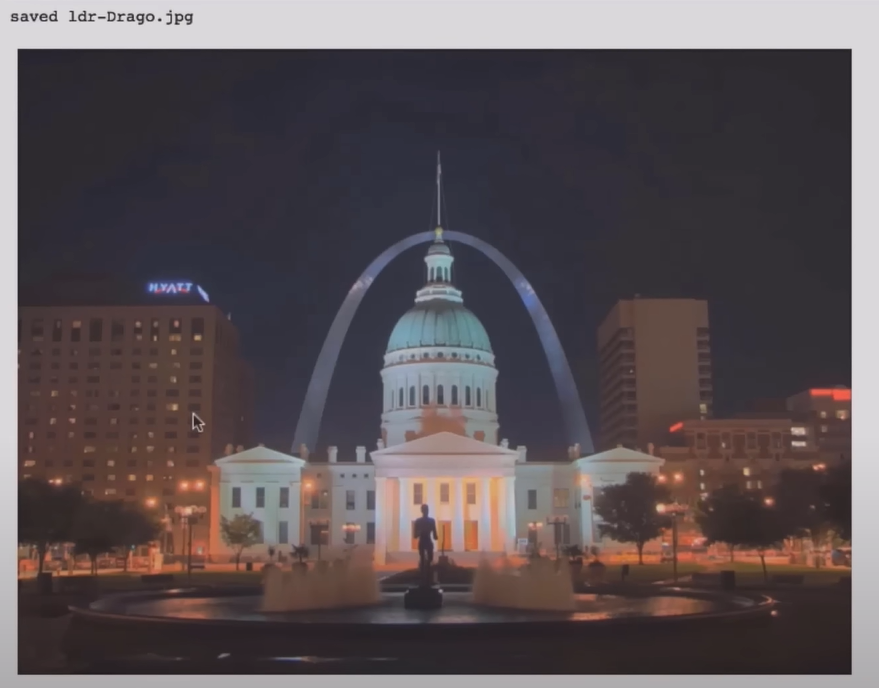
#Tonemap using Drago's method to obtain 24-bit color image
tonemapDrago = cv2.createTonemapDrago(1.0, 0.7)
ldrDrago = tonemapDrago.process(hdrDebevec)
ldrDrago = 3 * ldrDrago
plt.figure(figsize=(20,10)); plt.imshow(np.clip(ldrDrago,0,1)); plt.axis('off');
cv2.imwrite("ldr-Drago.jpg", ldrDrago * 255)
print("saved ldr-Drago.jpg")
» Check other Tonemapping algorithms