wittig reaction
Experimental Setup
Materials Needed:
10 mL round-bottom flask
Hot plate
Benzyl triphenyl chloromethane (Benzyl triphenylchloroacetate)
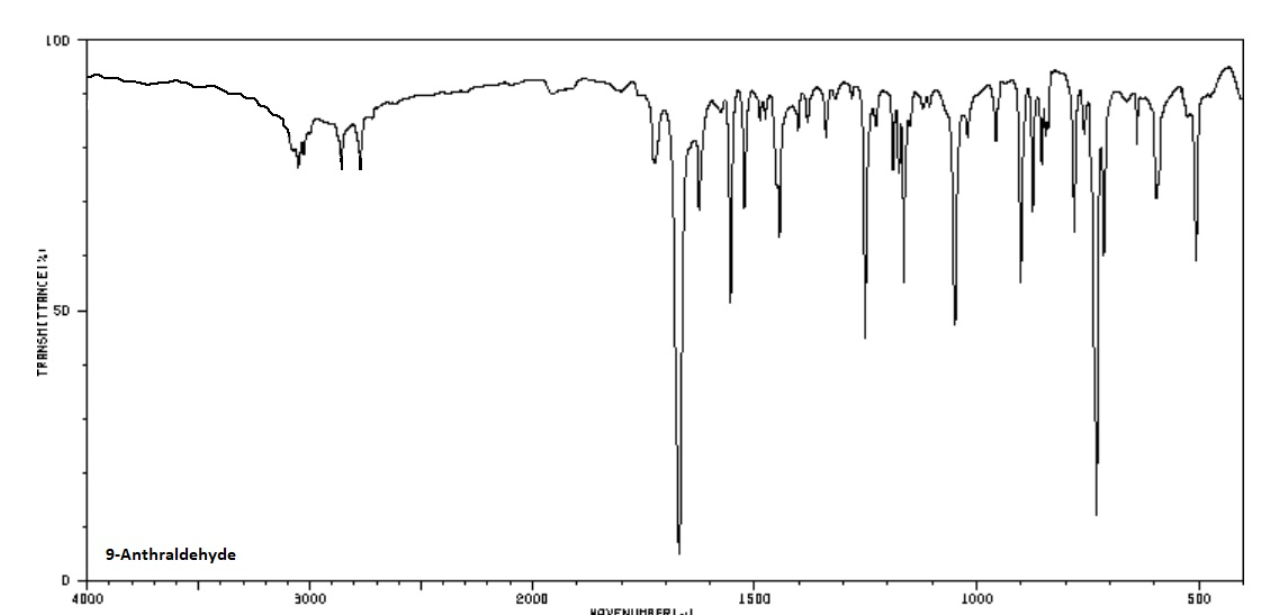
9-Formylphenol (or 9-formyl-compound, 9-aldehyde)
Methylene chloride (solvent)
Sodium hydroxide solution (50% aqueous)
Objective:
Combine the starting materials to synthesize a product utilizing a base-catalyzed reaction.
Procedure Steps
## Initial Combination of Materials
Step 1: Combine solids in the round-bottom flask.
Rinse the flask with methylene chloride to ensure all solid is included.
Incorporate the spin vane into the flask.
Step 2: Carefully pour the methylene chloride into the flask using a funnel.
Any solid stuck within the funnel can be rinsed down with additional methylene chloride.
Step 3: Start the stirring process on a stir plate.
Ensure the stirring is at a low speed to avoid splashing.
Addition of Sodium Hydroxide Solution
Step 4: Add sodium hydroxide solution dropwise over a period of three minutes (off-camera).
The importance of this addition process is to maintain reaction control.
Step 5: Allow the mixture to stir at room temperature for 30 minutes.
Consistent stirring is crucial to ensure the reaction proceeds adequately.
Separation Process
## Transferring Reaction Mixture
Step 6: Remove the flask from the hot plate after 30 minutes of stirring.
Extract the magnetic spin vane and observe the reaction mixture, which should have a yellow color.
Step 7: Pour the contents into a separatory funnel.
Ensure the funnel is properly closed.
Step 8: Rinse the reaction flask:
Use 5 mL of methylene chloride and swirl to remove remaining product.
Follow up with 5 mL of deionized water, also swirling to aid separation.
Step 9: Swirl the mixture within the funnel to promote layer separation.
Extracting Layers
Step 10: After separation, identify the layers.
The bottom layer is the methylene chloride containing the product, while the top layer is the aqueous layer.
Step 11: Drain the bottom methylene chloride layer into a 125 mL Erlenmeyer flask.
Step 12: Repeat the extraction of the aqueous layer with 10 mL additional methylene chloride.
Ensure the separatory funnel is sealed during the process.
Step 13: Allow the layers to separate completely, then drain the methylene chloride layer into the Erlenmeyer flask again.
Drying Product
Step 14: Remove the aqueous layer and dispose of it properly.
Step 15: Incorporate calcium chloride pellets into the methylene chloride solution.
Monitor for any clumping, indicating the presence of water, which necessitates more drying.
Step 16: Decant the solution into a round bottom flask.
Ensure clarity of product and minimal losses.
Removal of Solvents
## Utilizing Rotovap
Step 17: Utilize a rotovap to remove methylene chloride from the product.
Set the water bath to approximately 40 degrees Celsius.
Attach the product flask securely to prevent accidents.
Step 18: Implement vacuum to enhance evaporation of methylene chloride.
Monitor the process, ensuring efficient removal of solvents, with regular checks on the system's functionality.
Recrystallization Process
Step 19: After methylene chloride removal, notice the color and state of the product (dark yellow solid).
Step 20: Recrystallization using a minimal amount of warmed 1-propanol.
Gradually add 1-propanol until product dissolves adequately (approximately 20 mL used).
Step 21: Transfer the solution to an ice bath for 5-10 minutes.
Observe the formation of suspended crystals in the cooling solution.
Filtration of Crystals
Step 22: Collect purified product through vacuum filtration using appropriate setups.
Wet the filter paper with 1-propanol to prevent premature passage of crystals below.
Step 23: Start vacuum filtration and rinse the flask with additional 1-propanol to recover all product.
Step 24: Allow the collected product to air dry under vacuum for 5-10 minutes.
After drying, place product in a low-temperature oven (approximately 75 degrees Celsius) for additional drying.
Final Yield and Data Collection
Step 25: Weigh the dry crystals on a watch glass accurately after accounting for loss.
Record the final weight (approx. 343 mg), considering the weight of the watch glass.
Step 26: Determine the melting point of the final product, with a recorded melting point of 124°C and a range of 124-128°C.
Step 27: Compile data to include observations, calculations on limiting reagents, theoretical yields, and any errors present in the experiment.
Conclusion
Key Takeaway:
Emphasis on careful handling and systematic execution of chemical processes to improve yield and purity of products.
Potential Errors:
Considerations on losses during separation and purification stages impacting overall yield accuracy.
ACTUAL DETAILS:
Initial weight of benzyltriphenylphosphonium chloride used: 1.022g________
Intial weight of 9-anthraldehyde used: _____.59g_______
Volume of ethyl acetate used to dissolve the starting materials: ____3.5_ml_______
Volume of aqueous sodium hydroxide used: _____1.3 ml_______
Volume of ethyl acetate used to rinse the reaction flask: ___5 ml_________
Volume of water used to rinse the reaction flask: 5 ml__________
Volume of ethyl acetate used to extract the reaction mixture: ____10 ml________
Volume of 1-propanol used to recrystallize crude product extract:___15 ml________
Final weight of purified product:_.612g_____
Melting point range of purified product:__122-125_______
Approximate amount of calcium chloride used to dry the organic extract: 1.6 g________